


11 Sep Advanced Floating Floor Installation Guide
Getting Started – Flooring, Tools, Materials
Floating floors are categorised by their click-and-lock systems which run along the edges of each plank. They don’t require any glue or nails.
Four Types of Floating Floors:
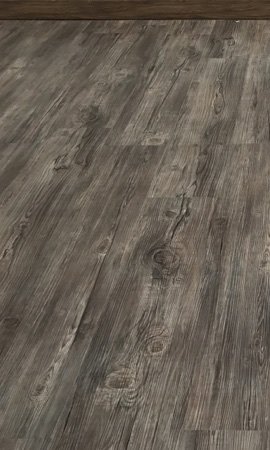
- Laminate Flooring – These synthetic planks are made of a high density wooden fibreboard. Laminate floors are both affordable and very durable, which makes them common across homes and commercial settings.
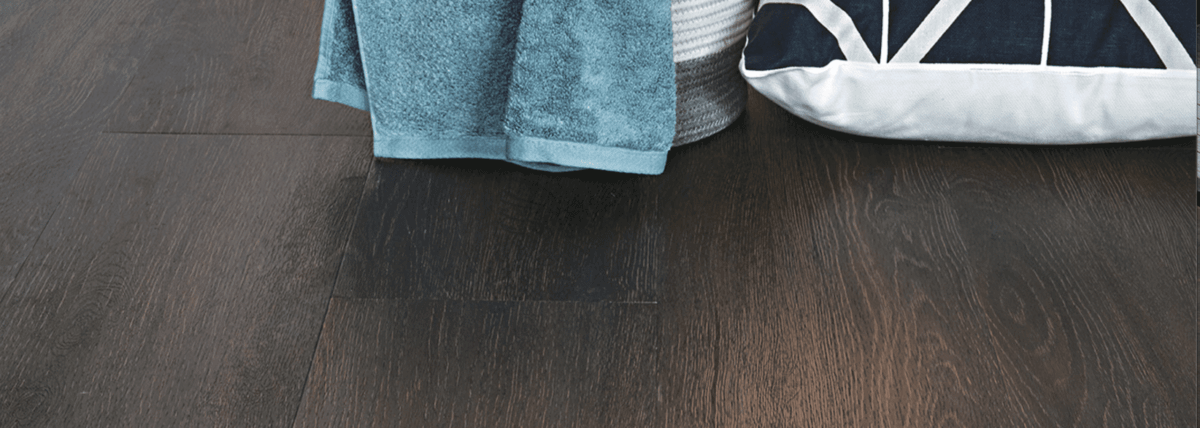
- Hybrid Flooring – Constructed from a plastic and stone or wood composite, these planks offer 100% waterproofing alongside a robust surface. Most come with a pre-attached underlayment.
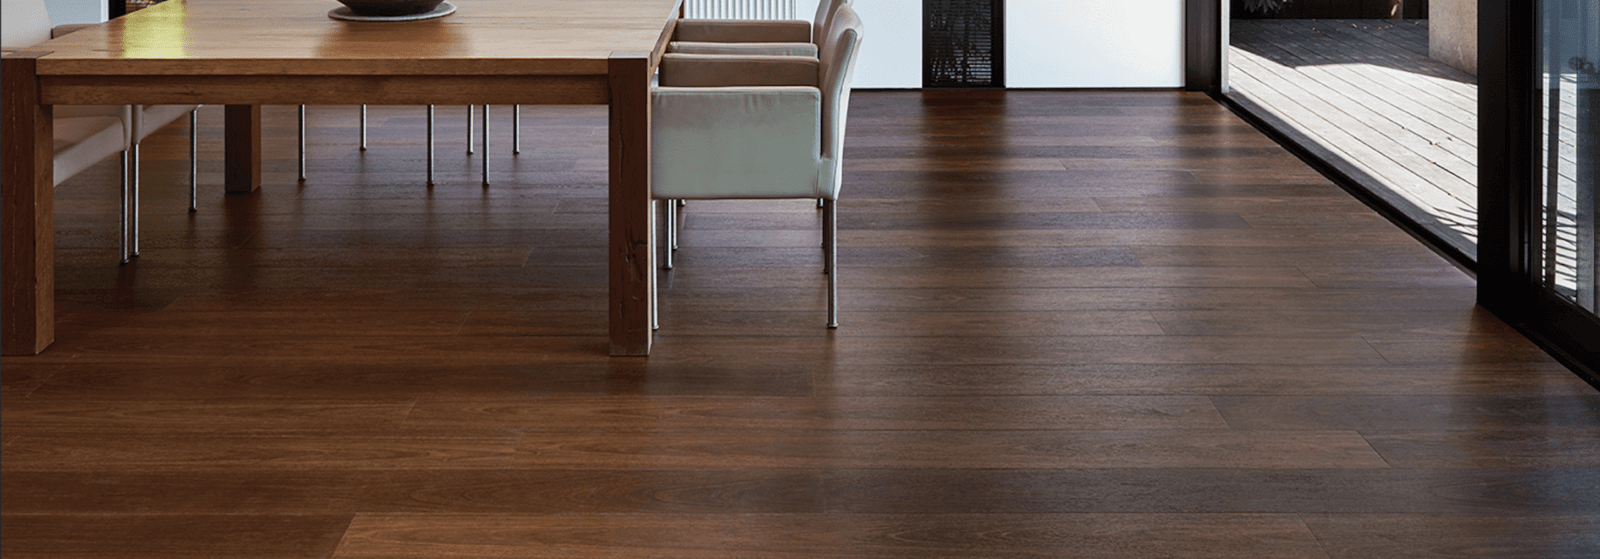
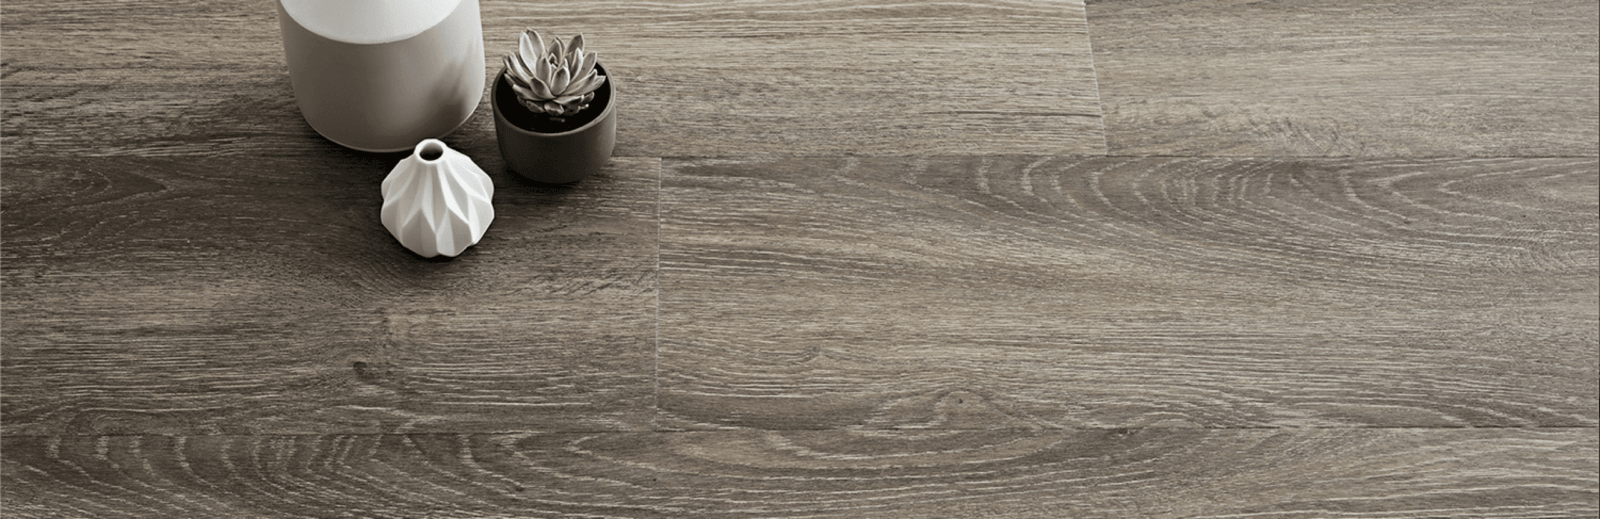
- Engineered Flooring (<15mm Thick) – Engineered timber offers a veneer of real timber on the surface which is fused to a plywood or waterproof composite core. This allows you to get the beauty of natural timber with an easy installation system.
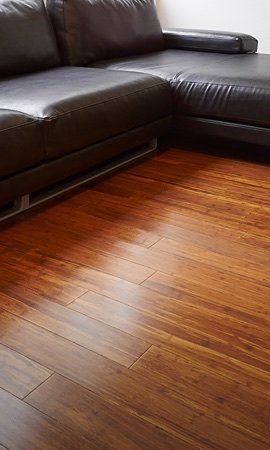
- Bamboo Flooring – Strandwoven from a species of giant grass, these planks are both sustainable and 3x tougher than hardwood flooring. Bamboo floating flooring offers a unique grain pattern.
Next, let’s ensure we have everything we need. This includes all the tools as well as personal protective equipment which must be worn during the installation. This guide covers all floating floors, which were listed above.
Flooring Installation Tools
- Rubber Mallet
- Tapping Block
- Pull Bar (a.k.a Pry Bar)
- Spacers (20 – 40 units)
- Drop Saw
- Table Saw
- Carpenter’s Set Square
- Utility Knife
- Pencil
- Eraser
- Broom or Vacuum
- Spirit Level
- Tape Measure
- Hand Saw or Oscillating Multi-Tool
- Small Chisel (Must be thinner than floorboard thickness)
Skirting Installation Tools
- Nail Gun
- Silicone Filler
- Table Saw or Drop Saw
- Pencil
- Set Square
- Disposable Cloth
- Tape Measure
Carpet Removal Tools
- Utility Knife
- Putty Knife
- Crowbar / Wrecking Bar
- Rubber Mallet
- Claw Hammer
- Broom or Vacuum
Personal Protective Equipment
- Safety Glasses
- Ear Protection
- P2 Mask or N95 Mask
- Work Gloves
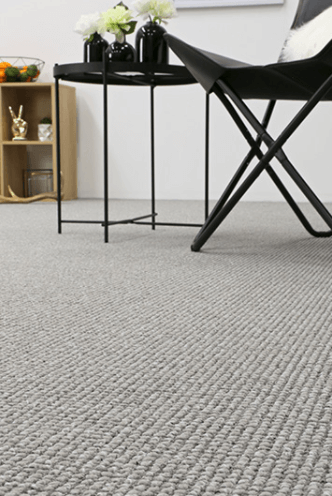
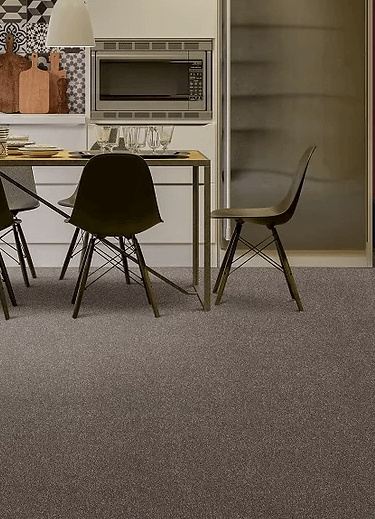
Carpet Removal & Disposal
If you already have a bare subfloor which does not require any carpet removal, feel free to jump onto the next section which dives into preparing the subfloor.
Removing carpet is a necessary step as floating floors require a more rigid subfloor in order to retain structural integrity. This also allows you to determine whether or not the subfloor is flat enough since floorboards cannot be installed over an uneven surface.
Start From The Corner
- First, put on the dust mask and wear gloves.
- Using the utility knife, start by cutting a small square of the carpet from the corner of the room. The hole is essentially a handle to pull from.
- Use both hands to rip up the carpet. You may need to tug harder for some areas which are held down firmly.
- If the room is very large, you may need to use your utility knife to cut and separate the carpet into chunks for manageable sizes.
Safety Tip: Never bend or strain your back when pulling up carpet, especially when it requires a lot of force. Instead, keep the back straight and use your arms and legs.
Remove The Edge Grip
- The edge grip is a wooden strip with nails protruding both upwards and into the subfloor. It runs across the perimeter and holds down carpet.
- Slide the chisel edge of the crowbar with force against the small gap between the subfloor and edge grip in order to loosen or dislodge it.
- If the edge grip is difficult to remove, use extra force from the rubber mallet by smacking the chisel edge into the gap.
- Repeat this along the perimeter until all of the edge grip is loose.
- Some nails may still be stuck in the subfloor. Use the bent claw edge of the crowbar to yank the stubborn nails out.
- Some carpets may have additional staples which have held them down. Scan the subfloor for the presence of any staples, and use the bent claw head to remove them.
Safety Tip: The nails attached to the edge grip are dangerous. When disposing of them, first roll it up in the carpet so the sharp bits are hidden away. Appropriate footwear and work gloves will also go a long way.
Carpet Disposal
- Once you have all of the carpet and edge grips out of the subfloor, we need to dispose of it.
- Place the edge grips in the centre of the carpet and roll it up into large rolls. This makes it safer and easier to carry outside.
- Carry the rolls of carpet outside of the area to clear the space up.
- You can arrange for a recycling company or council pick up to take the carpet. If neither are available, private companies may be an option. Dumping can result in significant fines.
Safety Tip: Older carpets may have accumulated mould growth and other hazardous dust particles over the years. Be sure to leave all windows open for maximum ventilation.
Prepare The Subfloor
Installing without checking and preparing the subfloor can result in many problems down the road, which could easily have been avoided. This section will give you a step-by-step guide to making sure the subfloor is ready.
What is a subfloor?
The subfloor refers to the structural base which you intend to lay the flooring directly over. Most subfloors are made of flat concrete slabs. Others are made of wooden chipboards, plywood, yellow tongue, or even existing floorboards.
Clean The Subfloor
- Use a vacuum or broom (we recommend vacuum) to get rid of dust or any other particles which can get in the way.
- If you just removed carpet, there may be residue underlay clinging to the subfloor. Use a putty knife to scrape any away if present.
- Scan the subfloor to ensure it’s completely spick and span before continuing.
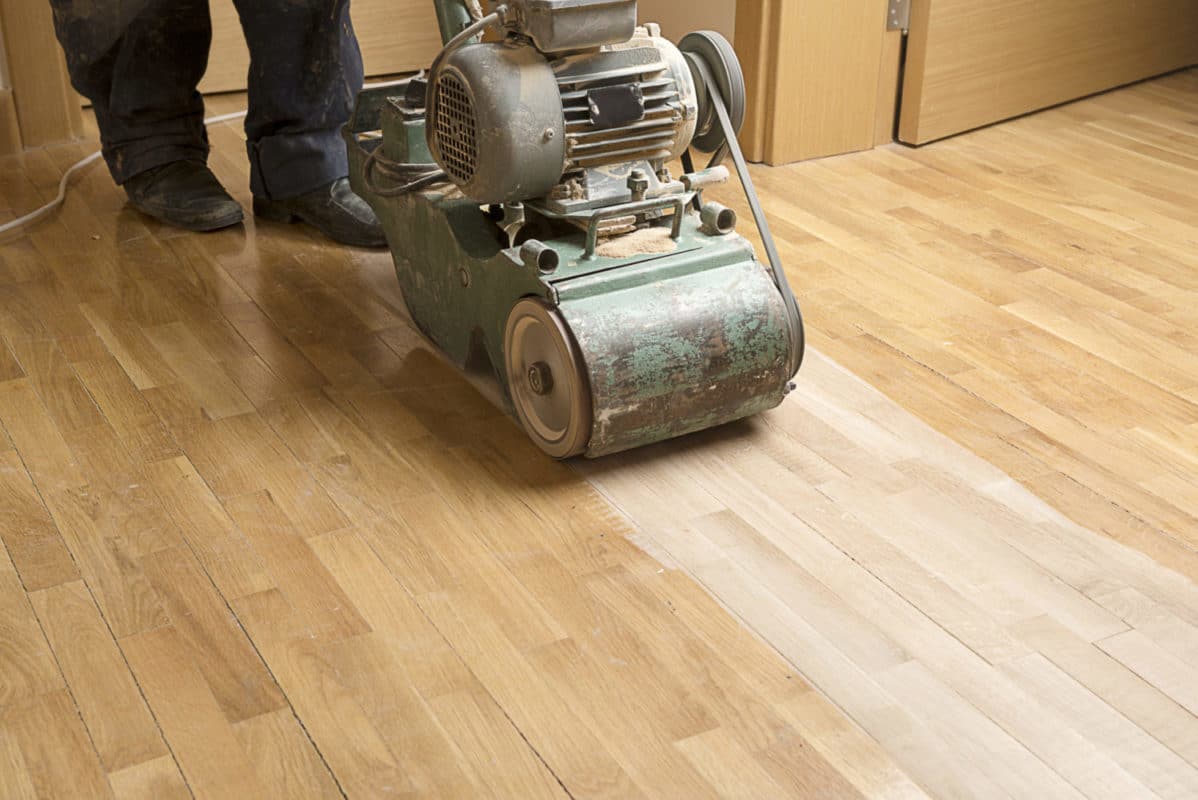
Check Subfloor Evenness
- An uneven subfloor will cause floorboards to creak, and damage the joints in the long term. This is a big mistake which mustn’t be overlooked.
- Use your eyes by sweeping around for potentially uneven areas. Look out for any raises, dips, waviness or slopes.
- Mark any of these locations with a pencil.
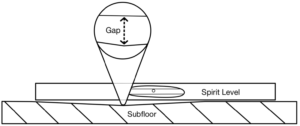
- Use the spirit leveller by placing it on any of the potential locations of unevenness.
- The difference in level is equal to the highest point between the bottom of the spirit leveller and the subfloor when placed on the floor.
Compare Results With Tolerance
- Record down the results to compare with the following tolerances of each type of flooring.
- The general rule of thumb is thicker planks have a slightly higher tolerance than thinner planks of the same composition.
- If the unevenness is greater than the tolerance, we highly recommend levelling the subfloor. Please refer to the beginners Guide to fixing unlevel subfloors to determine whether you need a professional.
| Unlevel Subfloor Tolerance Limits | ||
| Flooring Type | Thickness | Tolerance / Metre |
| Laminate Flooring | 8.0 – 14mm | 1.0 – 2.0mm |
| Hybrid Flooring | 6.5 – 9mm | 0.5 – 1.0mm |
| Engineered Flooring | 12 – 21mm | 1.0 – 2.0mm |
| Bamboo Flooring | 14mm | 2.0mm |
Pro Tip: If your subfloor is made from battens, you will need to install a layer of 15-21mm plywood first. Laying floating floors over battens directly is not suitable. It will not be covered in this guide, however you can contact us for help or advice.
Install Underlayment
Underlay plays a crucial role in providing both noise protection from footsteps and providing necessary friction to help keep the planks in position.
If you are installing the floating floors in an apartment, unit or townhouse, there may be specific ‘acoustic’ underlay requirements that must be met. This requires you to contact your strata management.
Some floating floors like hybrid flooring may come with pre-attached underlay. Under normal circumstances, you will not need to install any additional underlay if it is pre-attached. Feel free to skip to the next section if this is your scenario.
Without further delay, let’s dive into installing the underlay!
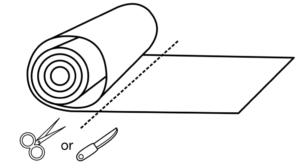
- Underlay comes in large rolls of typically 20 – 50sqm per roll. The first step is to start with the longest length of the room.
- Unfurl the underlay from one corner. Place a heavy object – a hammer or other tool on top to stop it from curling back up or moving at the beginning.
- Once you unroll the underlay to the other end of the room, use the utility knife to cut a straight line across the width to separate the first strip from the roll.
- Repeat this process next to the first strip.
- Underlay usually comes with an adhesive section on the side which can be exposed after peeling off the cover. Use this to connect both strips so they stay in place and overlapping.
- If there is no adhesive section, you will need to use duct tape instead to hold the underlay strips in position with one another.
- When you reach the sides of the room, use the utility knife to cut the underlay into a snug fit against the wall.
- Upon covering the entire installation area, scan for any creases or imperfections which can be flattened out.
Pro Tip: Always prepare 10% more underlay than the actual number of square metres. This accounts for off cuts (wastage) and overlapping which will occur as you fit the underlay next to perimeters.
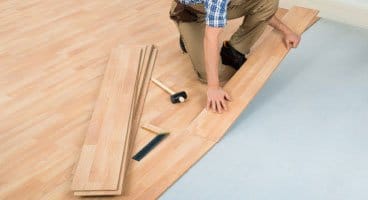
Laying & Cutting Flooring
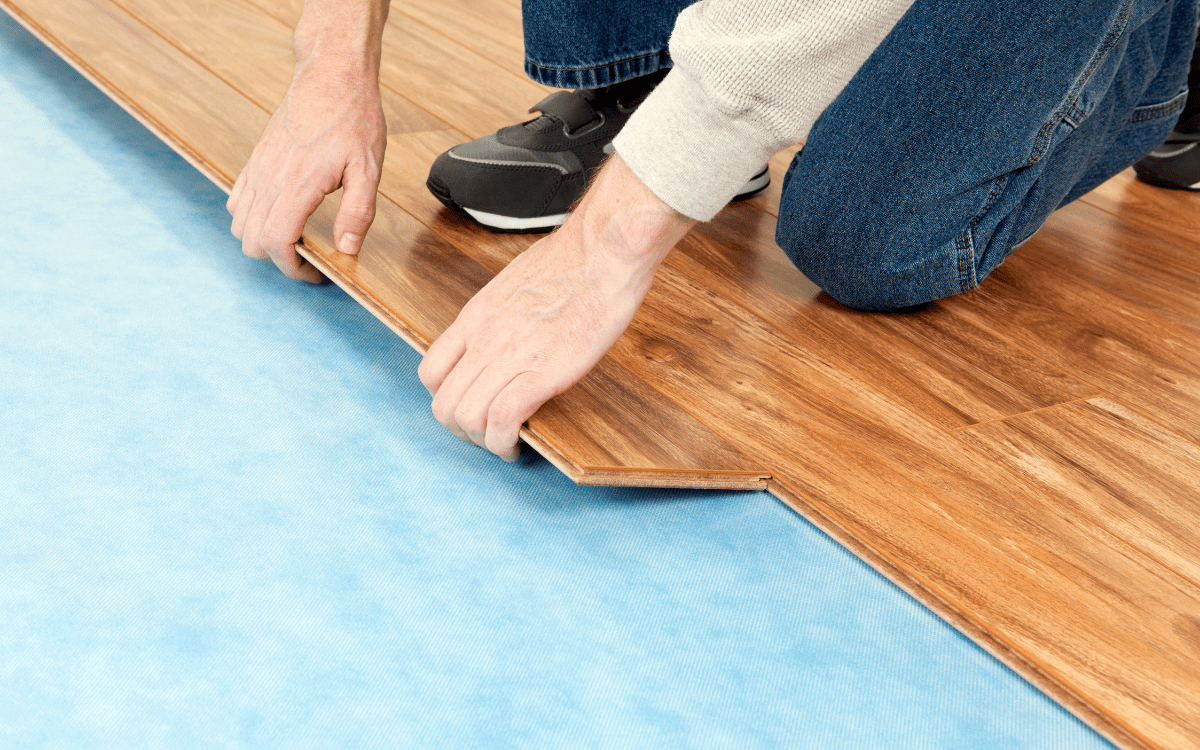
Floating floors all come with a click-lock function which allows you to join each plank without the need of any glue or nails. This is what makes it DIY friendly and much quicker to install compared to direct-stick alternatives.
This section will explain the best methods of laying each row and provide top tips to make this easier. Furthermore, you’ll learn safe practices when cutting planks.
Which Direction Should The Planks Lay?
- If your subfloor is made of battens with a plywood base attached, floorboards must run perpendicular to the direction of battens for stability.
- Floorboards should run parallel to the hallway direction.
- Floorboards should run parallel to the longest side of the room.
- Floorboards should run parallel to rectangular lights.
Of course, some of these may conflict. Make a balanced judgement, prioritising from the top to bottom if you can’t meet all the criteria.
Identify The Recommended Expansion Gap Size
The expansion gap between the planks and walls are necessary for all types of flooring. It allows for natural expansion and shrinkage which the floorboards undergo when the temperature and humidity changes across seasons and time of day.
The size of the expansion gap varied depending on the composition of flooring. The more dense and absorbent the material, the greater the expansion gap should be.
Some other factors:
- Plank Width – Wider planks have more expansion and should be given a slightly bigger expansion gap within the provided range below.
- Environmental Moisture – If the relative humidity is outside of the 30% – 50% range, we recommend increasing the expansion gap size.
| Generally Accepted Expansion Gaps | |
| Flooring Type | Gap Size |
| Engineered Timber Flooring | 10 – 12mm |
| Hybrid Flooring | 6 – 8mm |
| Laminate Flooring | 8 – 12mm |
| Bamboo Flooring | 12 – 15mm |
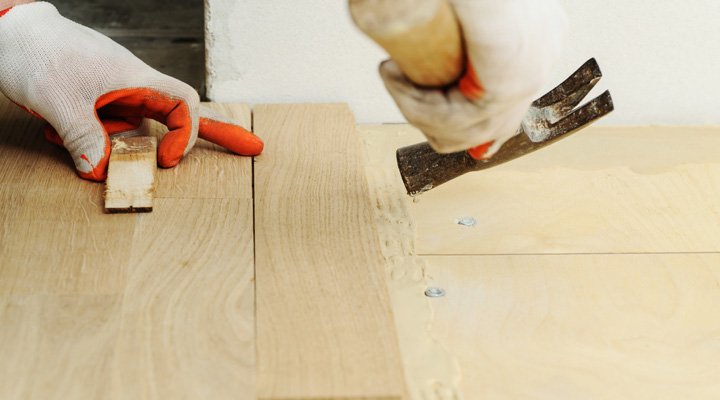
Installing The First Row
- Place a spacer (adjusted to the width of the expansion gap) every 50 centimetres against the length of the first wall.
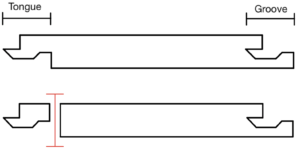
- Cut off the ‘tongue’ from the sides facing the wall on the first plank. This will require the table saw. Refer to ‘Removing The Tongue’ below.
- Place the first plank (without the tongue) against the corner of the room, fitting against the spacers.
- Repeat the same process with the second plank( long side without tongue) , where the length facing the wall has spacers. Insert the end tongue of the panel into the end groove of the first panel at a 30° angle.
- Place the tapping block on the end of the second plank and tap it towards the first wall with a mallet to lock in the end joints firmly.
- Keep laying planks until you reach the opposite wall. You will need to cut across the plank to finish the row. Refer to ‘Cutting Planks To Fit’ below.
- The gap between the last plank and the opposite wall won’t fit the tapping block. Instead, slide the head of the pull bar between the wall and floorboard. Lightly the tail to lock in the planks
Removing The Tongue
Warning: Cutting floorboards is a dangerous process and requires your undivided attention as the saw can cause devastating accidents. Circular saws are unsuitable as they are handheld, which makes cutting difficult in terms of safety and precision.
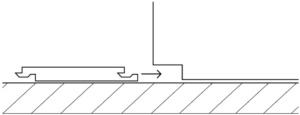
- The ‘tongue’ refers to the click-lock side which is meant to fit into the ‘groove’. The diagram below shows the difference between the tongue side and groove side.
- Place the floorboard on the table saw and slowly push it through the blade to remove the tongue.
Cutting Planks To Fit
- Use the tape measure to identify the length required for the final plank of the first row (taking into account the required expansion gap).
- On the floorboard, mark the location to cut with a pencil. Pay attention to make sure you mark from the correct end, so you don’t end up trying to connect two grooves or two tongues if you cut from the wrong end.
- Set up the drop saw or table saw outdoors in areas like the verandah, as there will be a significant amount of dust released. The dust is both a hassle to clean and can be potentially unhealthy in high quantities.
- Use the drop saw or table saw to carefully cut a straight line across the marking. One hand should always be holding the plank still.
Installing Subsequent Rows
- When installing the first plank of the second row, it is important to place a spacer against the wall again for a consistent expansion gap.
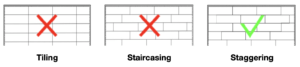
- Avoid ’tiling’ or ‘staircasing’ the floorboards. Instead, opt for a natural variation by ‘staggering’ the rows randomly throughout the rooms.
- Install the plank from a 30° angle by sliding the tongue (on the length of the floorboard) into the groove of the previous row.
- Firmly lock the plank tongue into the groove of the previous row by using the tapping block and mallet.
Undercutting The Door Jamb
This section will explain how to cut through the door jamb to snuggly fit the floorboards. If you don’t have any existing door jambs which may get in the way, you can skip to the next section.
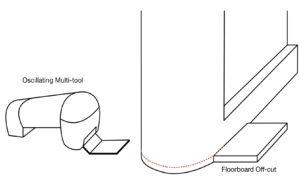
- Place an offcut on the subfloor, against the impeding door jamb. This piece will act as a guide, showing how high to cut.
- Use an oscillating multi-tool or hand saw to cut approximately 2 – 4cm inwards.
- The image below shows a red line which represents where to cut, based on the floorboard offcut.
- Use the chisel and hammer to chip out the wood from the skirting boards. Be careful not to ruin anything above the area marked for removal.
- Once you have finished excavating the undercut of the door jamb, you can proceed by slotting the planks in for a smooth continuation.
Cutting & Installing The ‘Rip’
The ‘rip’ refers to the final row, which is usually thinner than the other rows since the last planks will need to be cut to fit against the wall. Rather than cutting across the plank, we’ll need to cut along the length of the floorboards. As per usual, you will need to account for the expansion gap.
- Measure the required width of the rip with a tape measure at every 50cm interval since the wall may not necessarily be straight. Take into account the expansion gap.
- Mark the intervals on a plank and connect the dots using a straight ruler.
- Use the table saw (not drop saw) to carefully cut along the marked line to obtain the first rip plank.
- After you lay the rip, use the pull bar and mallet to lock the tongue into the groove of the second last row.
Once this is complete, remove all the spacers from the expansion gap. A completely installed floating floor area should have enough weight to stay in place without moving.
Give yourself a pat on the back, all that is left is installing the skirting around the edges. We’ll dive into this in the next section.
Installing & Cutting Skirting Boards
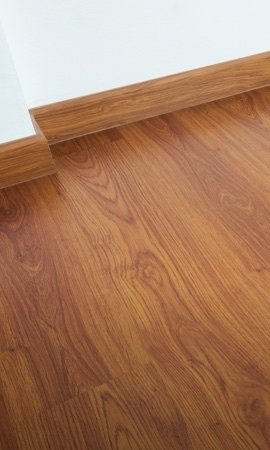
Skirting boards refer to the finish around the perimeter which covers up the expansion gaps and offers a seamless transition between the floors and walls. There are different types of edge trims including:
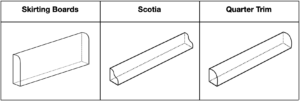
- Skirting Boards – A taller edge finish which comes in various heights and thicknesses, offering a premium aesthetic. Usually made from solid pine wood.
- Scotia – A smaller triangle finish which is designed to be concave inwards. More cost effective than skirting boards, scotia is made from either MDF or WPC.
- Quarter Trim – Similar to scotia, these concave-out alternatives are also a cost effective finish, and are usually made from MDF.
All of these are installed in a very similar manner. As such, ‘Skirting Boards’ in the following section refers to all three types (skirting boards, scotia and quarter trims). Let’s jump into it!
Cutting And Fitting Skirting Boards
- Measure the length of the first wall. Determine whether or not the length of one skirting board is greater than the required length.
- If the skirting board is longer than the length of the wall, mark the exact length required to cut on the board in order to fit it.
- Use the drop saw or table saw (table saw is easier) and cut at a 45° angle inwards, not outwards. Use a protractor if necessary to get the angle right and mark it first with a pencil.

- Repeat this with the other end of the skirting board by cutting off one corner at a 45° angle so you end up with a very long symmetrical trapezium.
- Rest the skirting board in position against the wall. We’ll nail them all in at the end.
- Move on to the next wall by measuring, marking and cutting at 45° angles on both ends.
- When you place the skirting board against the second wall, it should lay flush where the 45° angle ends meet with the first wall.
- If the skirting boards do not meet flush, the end angles of one or both are not cut properly. Double-check this, since removing them once they are installed is very difficult.
- Should the ends of the skirting boards not meet well, silicone filler may cover up any errors. You can decide whether or not it needs to be recut based on the severity.
- Once all the skirting boards have been cut to fit and are in position, we can begin nailing them in.
Pro Tip: Some walls may not be at 90° angles, which means the angle of cutting may have to vary. Opt for 50% of the angle on each skirting board so they mean in symmetry for the best look.
Nailing In The Skirting Boards
- Place the head of the nail gun directly against the skirting, facing straight into the wall.
- Shoot in a nail at every 20 – 30cm interval.
- Repeat this until every skirting board is securely attached to the wall.
- Use matching colour putty to cover the small nail holes. If your skirting boards are white, use silicone filler instead.
- Wipe away any smears or excess putty or silicone filler with a disposable cloth or rag.
Pro Tip: Avoid nailing the skirting board into the floorboards. The floating floors must not be fixed to anything, since natural expansion and contraction must be allowed.
Finish The Skirting Gaps With Silicone Filler
For the finishing touch, we recommend filling the small gaps with silicone filler. This section is an optional step which can allow a better look.
Most skirting boards are white. If it isn’t, make sure the silicone filler is matching in colour with the skirting boards.
- Using the air gun, squeeze silicone filler through the thin nozzle into any gaps. This includes gaps between the walls and skirting boards and where the skirting boards meet.
- Wipe away excess silicone filler with a disposable cloth or rag.
Cleaning Up
Before we continue, you deserve a huge congratulations. What you have accomplished is definitely no easy feat, and I can only imagine how great your new floors look even before cleaning up the dust and debris.
- The first step is to ensure all windows are wide open (provided it isn’t raining) to air out any dust or fumes in the air.
- Pack all offcuts and other waste into empty flooring boxes. This makes it easier to carry them out.
- Use a vacuum cleaner or broom to get rid of dust off the new floors.
- Once you move the furniture in, you have truly just completed your DIY Floating Floor Installation from beginning to end! A huge pat on the back for you.
Pro Tip: Stick felt padding to furniture legs if they do not already have this before moving them back in. This will protect your floors from risks of scratching when dragging furniture around.
Where can I Purchase Easy DIY Floating Floors?
FloorVenue would be happy to supply you with a quality floating floor with a good click-locking mechanism – at an unbeatable price ofcourse! We test every floor we stock, to ensure the click lock systems are designed for easy installation and the floor stand the test of time.
If you’d like to order online or if you reside outside Greater Sydney / NSW, you can try a trusted online store Flooring Works, which can deliver flooring to your doors. As a partner of Flooring Works, we will also honour all product warranties for up to 30 years from purchase (depending on your product warranty).
About FloorVenue – Word from Founder & Director
FloorVenue is a trusted supplier and installer of quality and beautiful flooring solutions. We have helped thousands of families and hundreds of home-builders, construction companies and businesses with beautiful new flooring.
We started from humble beginnings in the early 2000s, where my garage was used as the first warehouse. We were also one of Australia’s earliest wholesalers of laminate floors to flooring and carpet retailers across NSW.
Gradually, we expanded into supply and installations for families across NSW. Even today, we retain the principles from our wholesale origins – allowing us to cut out the middlemen and pass on cost savings (without compromising on quality) directly to you!
Our mission is to always provide the greatest value and care for our customers. I hope someday, we get the opportunity to help you with your flooring needs.
In the meantime, I hope this article was of help to you. Understand that you can always reach out to my team and I if we can be of any assistance.
– Gordon Zhang
Founder & Director, FloorVenue
