


03 May DIY Floating Flooring Installation Guide
Floating floors are great. Not only can they save you money from labour expenses, but it can be fun getting hands on with installations! Whether it is a weekend renovation project, or if you are a builder looking to learn more, you’ve come to the right place.
This article is a step by step guide which explains how to lay a floating floor in detail.
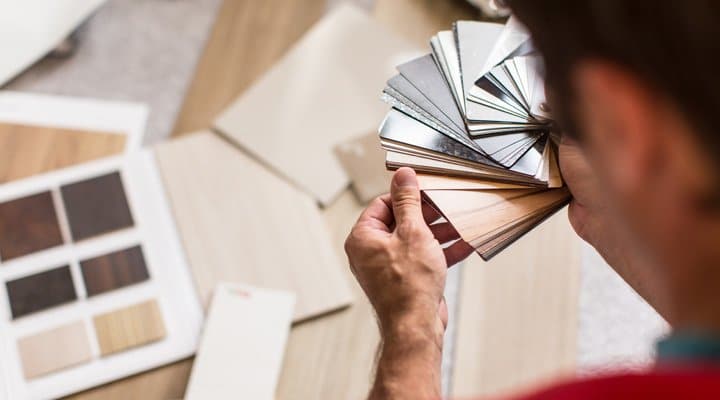
Quick Note: If you’re looking to purchase a quality floating floor with an easy DIY click-lock system (patented Unilin or Valinge options are recommended), check out your options in Step 4, or purchase from a trusted online flooring shop e.g. Flooring Works.
Step 1: Understanding Floating Floorboards
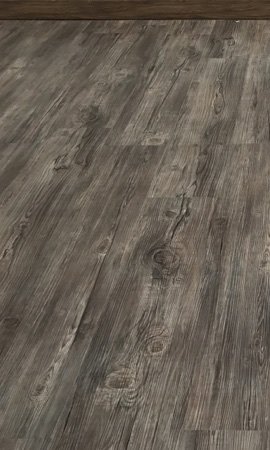
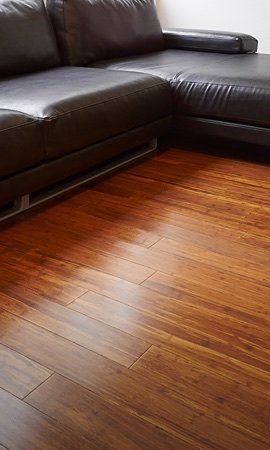
Floating floorboards are designed to make the installation of flooring as easy as possible. Floating floors have a click-lock system on the edge of each plank. The locks click together to form a seamless and beautiful floor covering. You can think of floating floors as a giant jigsaw puzzle where the forces of gravity and friction hold everything together in place. Common floating floors include laminate flooring, hybrid flooring, engineered timber, and bamboo flooring.
Benefits of Floating Floor Installations:
- Nail & Glue Free – Unlike solid timber, floating floor installations do not require any smelly adhesives or loud nails.
- Faster Installation – Click-lock systems are much easier to use. Skilled installers can lay the floors throughout an entire home in only one day!
- Cheaper Labour – If you intend to hire someone else, the typical cost of a floating floor installation is almost half of that of a direct-stick installation. (DIY is the cheapest!)

Step 2: Preparing Tools & Materials
The last thing you want is not having the right tools and materials when it comes to installing flooring. Here is a general checklist which you can’t go wrong with when it comes to a floating floor:
Installing Floating Floor Materials:
- Sufficient Floorboards – Enough flooring to cover your entire space +10% wastage. If this is your first time installing flooring, you might want even more incase of errors. The wastage accounts for all the offcuts which will be made when you fit the flooring around the perimeter and walls.
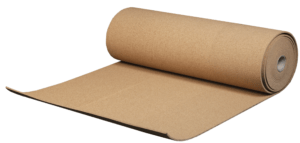
- Sufficient & Appropriate Underlayment – All floating floors require a foam or rubber underlay. Once again, you will need a 10% wastage to account for offcuts. If you intend to install the flooring in an apartment or unit, acoustic underlay will likely be required. Failure to meet the noise policies will result in having to rip up and redo the flooring. (not fun)
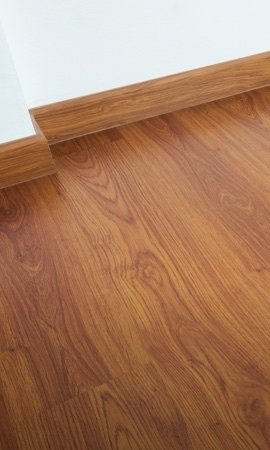
- Scotia & Skirting Boards – These are a necessary finish for not just aesthetics. The skirting or scotia also covers up the edge with the expansion gaps.
- Silicone Filler – The small gaps between the skirting and wall can be made flush with a tiny bit of silicone filler for the seamless finish.
Floating Floor Installation Tools:
- Nail Gun + Ammunition
- Pneumatic Silicone Gun
- Tape Measurer
- Duct Tape
- Utility Knife
- Rubber Mallet (Not a hammer)
- Drop saw or Table saw
- Pencil & Rubber
- Broom & Dust Pan
- Spacers
Step 3: Preparing the Subfloor & Underlayment
- If the existing subfloor is made up of battens, you may need to install a plywood base on top first with nails to make a flat subfloor. If you already have a flat subfloor made of concrete or wood (which you probably do), you can skip this step.
- If the concrete or wooden subfloor has unevenness of more than 3mm for every 2 metres, you may need to sand down the bumps. Fortunately, newer properties tend to have very even subfloors.
- Unfurl the rolls of underlay over the concrete or wooden subfloor from one corner against the side of the longest wall to the other end of the room or hallway.
- Repeat this across the entirety of the room until every inch is covered up.
- Use the utility knife to cut off the excess material to make the underlay fit well along the walls.
- Underlayment has an adhesive attached which can be used to stick them together in place. If this does not work, you can use duct tape to hold the underlay.
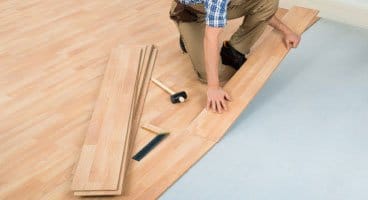
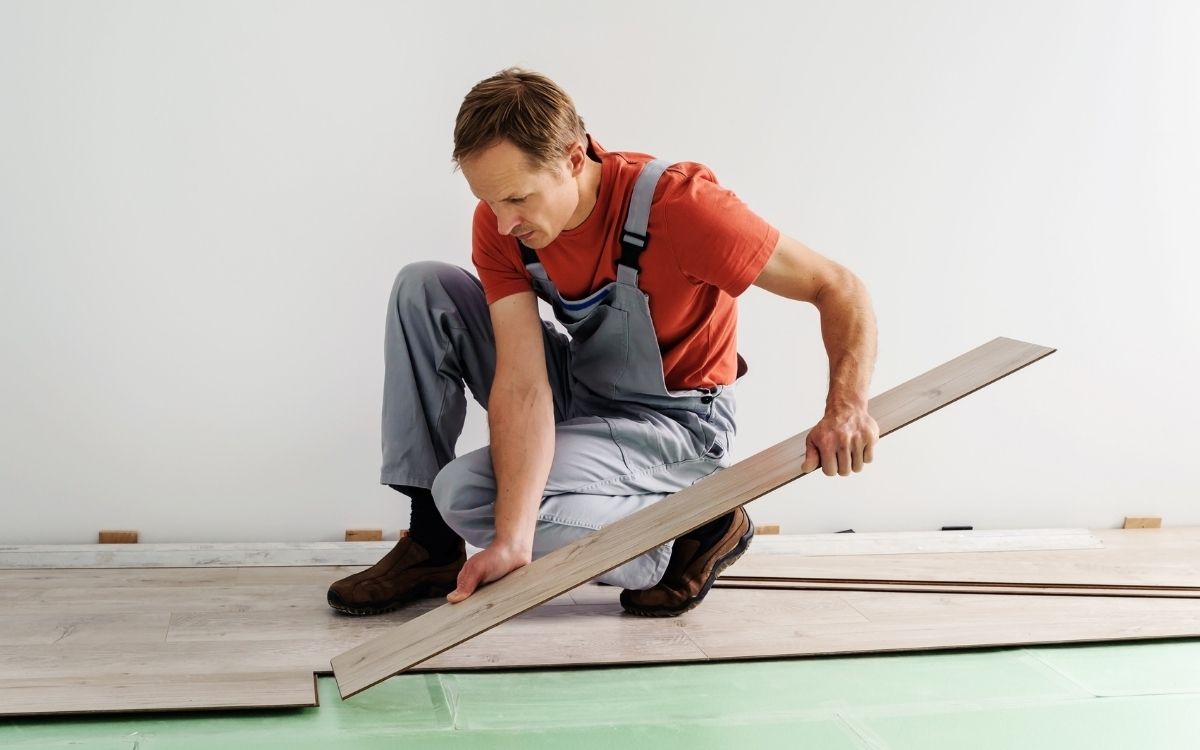
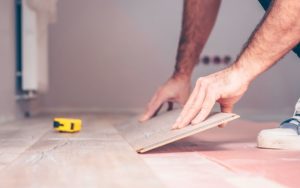
Step 4: How to Cut & Lay Floating Floorboards
You will want to start against a corner and wall with the planks running in the same direction as the lights if applicable, or aligned with the longest wall taking into account the entire home or building.
Laying Floating Floorboards
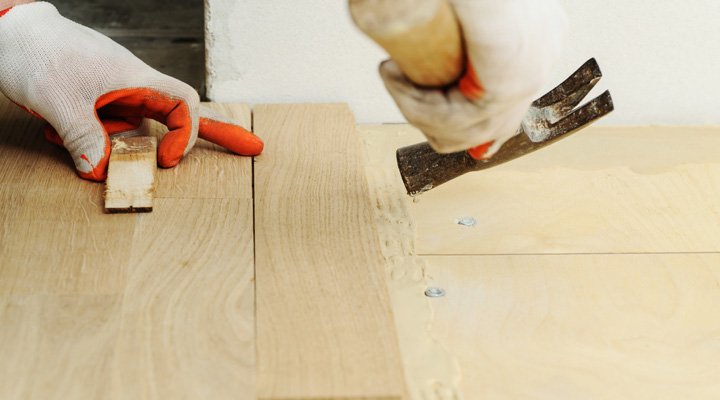
- Expansion Gap – Attach a spacer against the side of the floorboard at every half metre interval and one on the end of the board. Place this edge against the corner of the room. The spacers will account for the 6 – 12mm width expansion gap which is necessary for all floating floors.
- Complete First Row – Attach spacers to one side of the next floorboard and click lock it into the end of the first board which is not facing the wall. Repeat this until you cannot fit another piece. You will now need to cut the exact size to complete the first row – refer to the ‘Cutting the Floorboards’ part below.
- Staggering the Next Row – Once you’ve completed the first row, you will want to start with the unused side of the cut plank to save material. This helps ‘stagger’ the flooring for a more natural appearance. Once again, you will want to place a spacer on the edge which touches the wall.
- Repeat – Keep repeating the same process for the next row and so on.
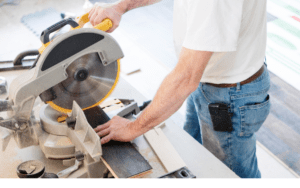
Cutting The Floorboards
You will need the drop saw or table saw, a measuring tape and pencil for this stage. This works for all floating floorboards including laminate flooring, hybrid flooring, bamboo flooring and engineered timber flooring.
- Place the saw in a location preferably outside or on the veranda where the dust will cause less problems and is easier to clean.
- Measure the exact length of the board you need, taking into account the 6 – 10mm width expansion gap from the wall. Measure and draw the exact place to cut for the right length on a floorboard.
- If your blade is cutting towards you, place the floorboard upside down. If the blade is cutting away from you, place the floorboard upright. This minimises the amount of splintering and defects on the surface of the flooring.
- Wear noise cancelling ear protection as the cutting is very loud.
- Carefully cut downwards with one hand always holding the plank still and the other hand on the blade handle. Ensure minimal movement of the floorboard and take extreme caution to avoid touching the blade, especially when it is still spinning.
- Unplug the power after cutting for safety purposes.
Note: Cutting floorboards is very dangerous and requires the users undivided attention as the saw can cause devastating accidents. Circular saws are unsuitable as they are handheld, which makes cutting difficult from a safety and precision standpoint.
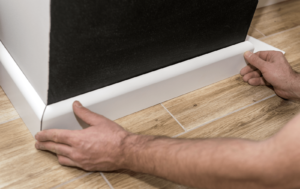
 Installing Scotia / Skirting Boards
Once the entire room or area has floating floors installed, you will need to install scotia or skirting boards along the perimeter to finish the flooring. This covers up the expansion gap and brings a beautiful transition between the floors and walls.
- Start from one corner of the room and measure every single wall using your measure tape and record down the results. Even if you already have a floor plan, it is important to measure the perimeter since there can always be errors and rounding.
- Using a pencil and ruler, carefully measure and mark the skirting length required for the first wall.
- Use the drop saw to cut a straight line across the marking.
- Now comes the hard part – cut the last piece touching a corner at a 45° angle to accommodate for the corners. You will need to carefully mark this on the end of the skirting board before cutting.
- Place the skirting against the wall with the 45° angle edge against the corner and repeat with the other side to make it flushed.
- Use a nail gun to secure the skirting boards in place by punching a nail along the walls every half metre or so.
- Follow the process of measuring, marking and cutting each skirting board before placing them against the previous piece all wall. Be sure to cut the edges to 45° for corners.
- Once the entire area has skirting boards installed together around the perimeter, we will need to seal the small gap between the skirting board and wall. This is done using a silicone gap filler and pneumatic gun with a colour which matches the walls (usually white).
- Last step is to cover the small nail punch holes in the wood skirting board. This can be finished by painting with an oil-based matching colour paint. If the original coating of paint is water-based, you may need to use a water-based option.
Step 5: Cleaning The Floating Floor
Now that you know how to lay floating floors, cut floorboards and install skirting boards, it is necessary to also understand the best way to clean up. Renovations are very messy jobs and you’ll most likely end up with a dusty floor which doesn’t quite gleam yet. Furthermore, it is necessary to take the right actions to protect your new flooring for a long time to come.
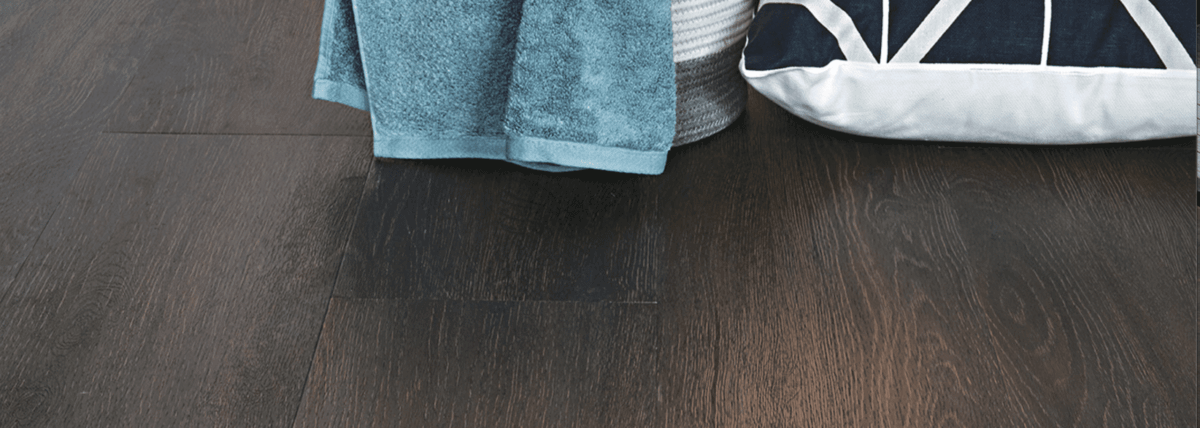
Laminate Flooring
Laminate flooring is the most scratch and dent resistant and often comes with water resistance. This makes it a very easy floor to clean, whether you wish to vacuum, mop or sweep. We recommend vacuuming right after installing to get rid of all the dust.
We have a laminate floor cleaning guide here!
Hybrid Flooring
Hybrid floors are 100% waterproof and also scratch resistant. This means you won’t have to worry about using too much water when mopping, as long as you don’t flood the floors. Vacuuming and sweeping the floor is also completely fine as long as the tools are not abrasive.
We have a hybrid floor cleaning guide here!
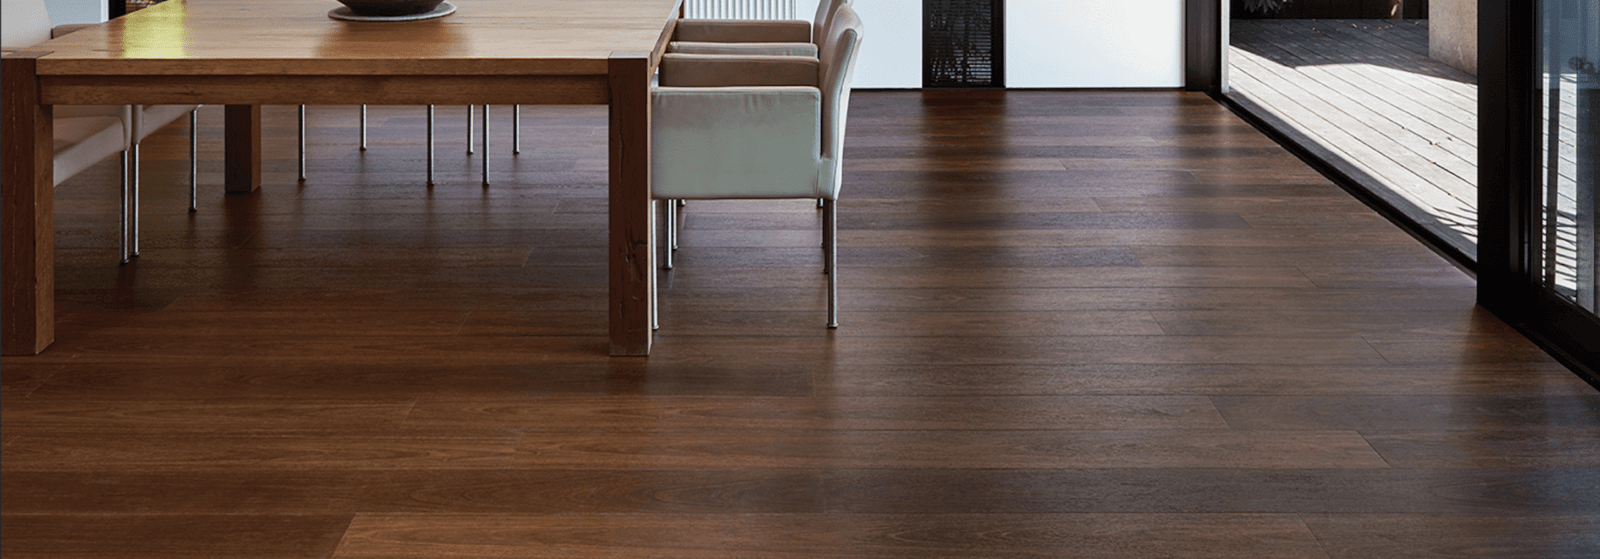
Engineered Timber
Engineered timber comes in oak flooring and hardwoods. These have a surface of natural timber material which means they are less durable and less water resistant compared to the synthetic floor ranges like hybrid or laminate floors. You will need to take care when cleaning by only mopping with a slightly damp mop and having a soft padding on the vacuum head.
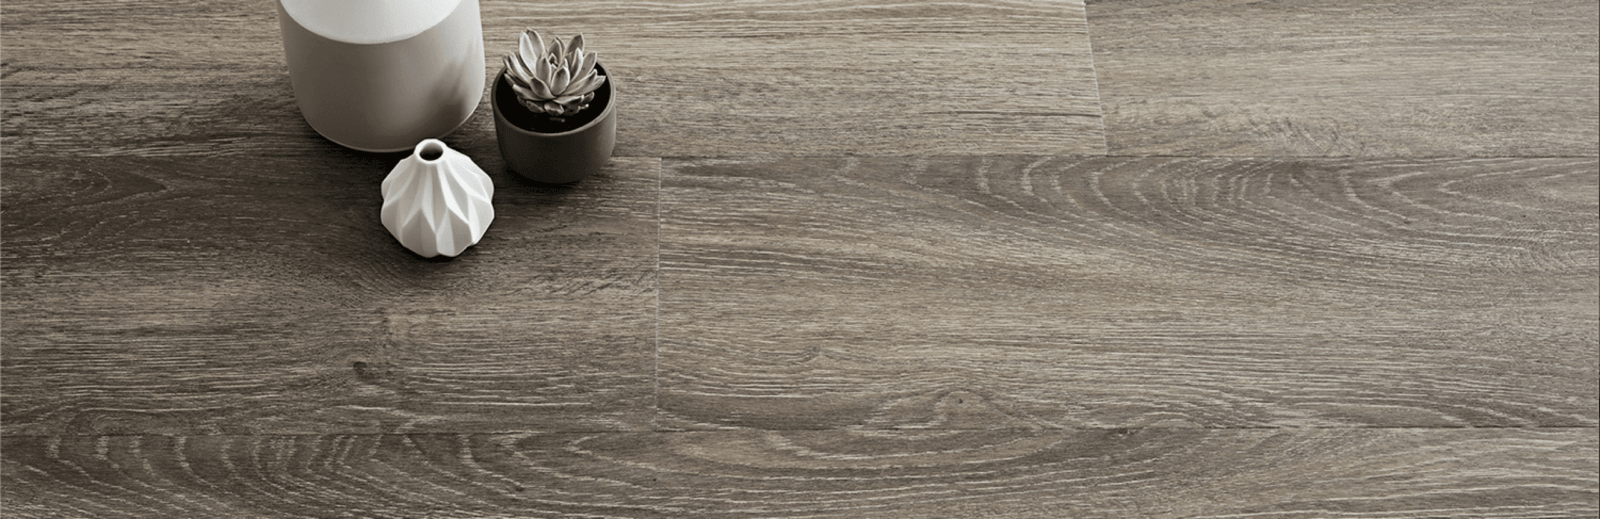
Bamboo Flooring
Bamboo flooring is a very durable floating floor, in fact three times stronger than hardwoods. However, they are more hygroscopic (water absorbent) meaning you will need to be very careful when mopping. Rinse the mop before cleaning and stick to vacuuming or sweeping if possible.

Disclaimer: FloorVenue will not be liable for accidental damages or injury resulting from failure in following the correct protocol. Specific products have their own installation guides and we highly recommend referring to them.
