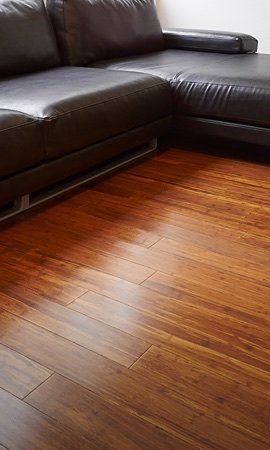

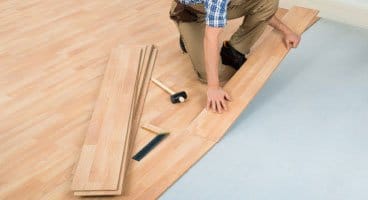


11 May How to Install Laminate Flooring
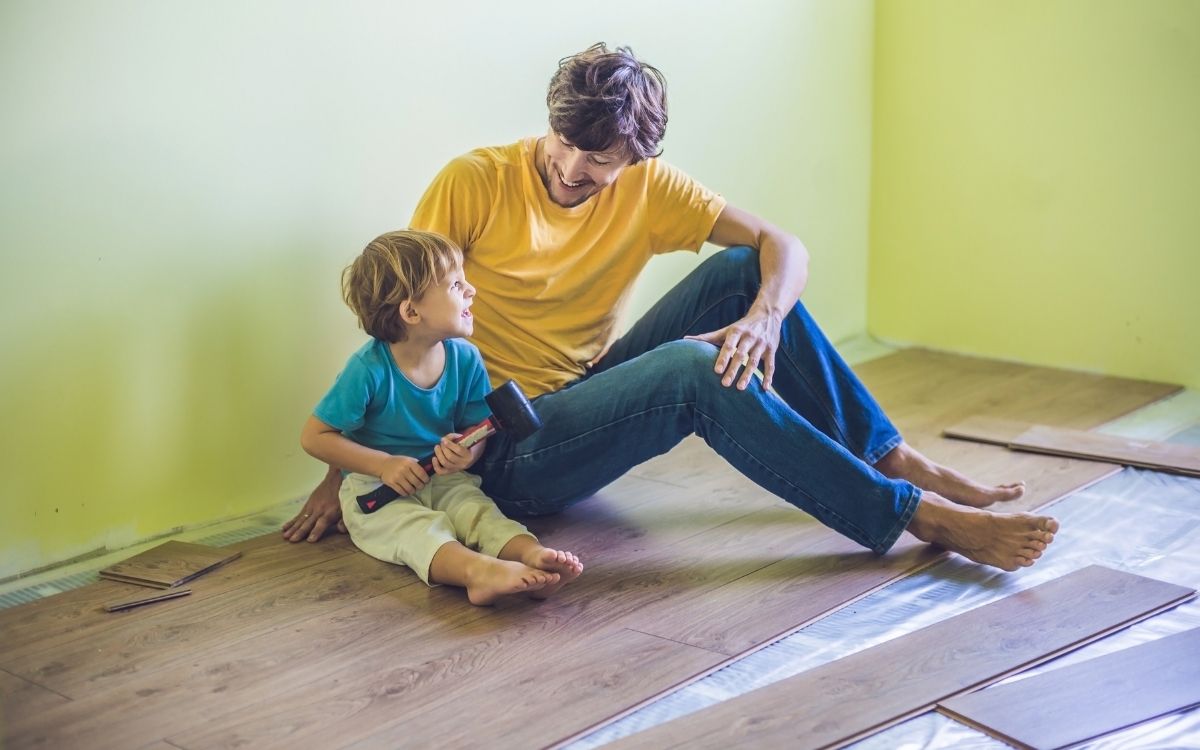
Whether you enjoy DIY projects or wish to save money, installing laminate flooring is actually a lot easier than one would think. Laminate flooring is categorised under a family of ‘Floating Floors’ which essentially don’t need any glue or nails. This makes it very easy to install laminate flooring.
This article will provide a step by step breakdown of installing your own beautiful laminate floors. Without further deliberation, let’s learn how to install laminate flooring!
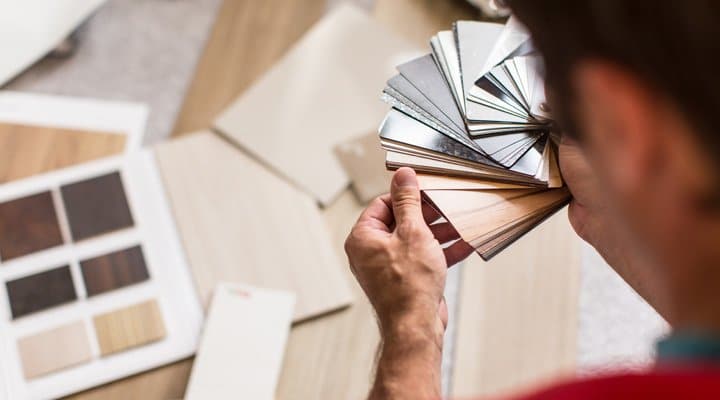
A quick note – if you’re looking to purchase a quality and easy to DIY laminate floor, we recommend you to check out your laminate floor options here and reach out to us or purchase from a trusted online store like Flooring Works, which can deliver flooring direct to your door.
Step 0: Preparing Materials & Tools
Before we jump into the actual installation, it quintessential to have all the material and tools at hand. Here is a quick checklist of equipment which should encompass everything you need:
Laminate Floor Installation Materials:
- Sufficient Floorboards – The last thing you’ll want is to run out of floorboards. It is important to know the measurements of the entire area where you intend to lay the flooring, and have an additional 10% for offcuts and wastage to fit around the perimeters. If this is your first time with DIY floor installations, we recommend getting even more just in case.
- Sufficient & Appropriate Underlay – Laminate floors cannot be laid directly over the subfloor and require underlay. Like the planks themselves, we recommend 10% excess for wastage purposes. If you are installing in a unit, apartment or townhouse, it is very important to ensure that the underlay meets the acoustic requirements set by the strata. Failure to comply means you’ll have to rip up the floors and start over, with the right underlayment.
- Scotia & Skirting Boards – Skirting or Scotia is used to cover the expansion gap between the wall and the perimeter floorboards for a clean finish. Skirting boards are taller whereas Scotia offers a smaller triangle edge finish.
- Silicone Filler – This is used to flush the small gaps between the skirting and wall. Although it is a fine touch and not necessary, it really completes the aesthetics.
Laminate Floor Installation Tools:
- Nail Gun + Air Pump & Ammunition
- Pneumatic Silicone Gun
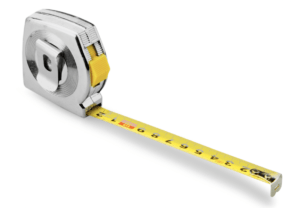
- Tape Measurer
- Duct Tape
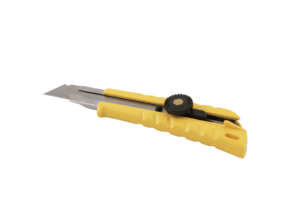
- Utility Knife
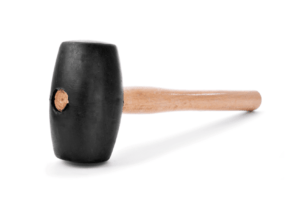
- Rubber Mallet (Not a hammer)
- Drop saw or Table saw
- Pencil & Rubber
- Broom & Dust Pan
- Spacers
- Spirit Level
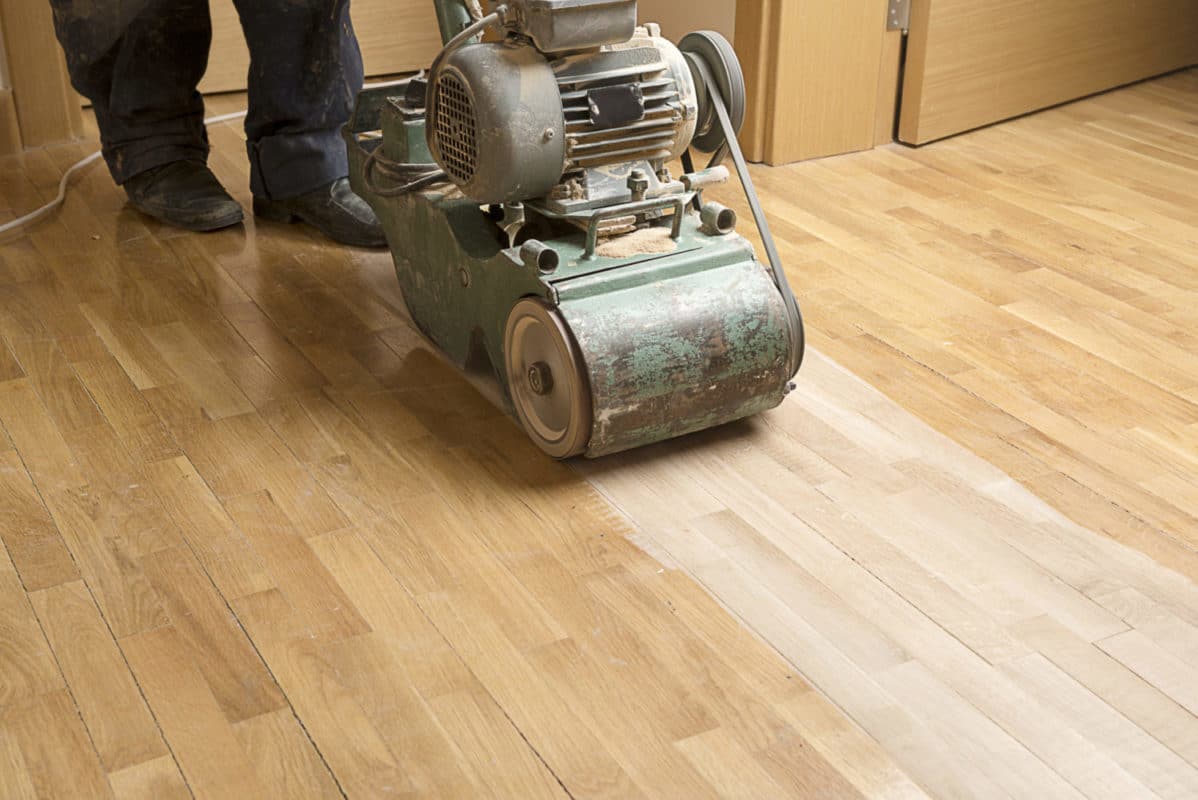
Step 1: & Subfloor Preparation & Install the Underlayment
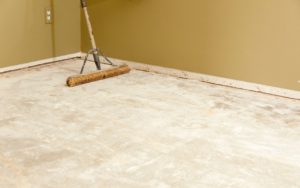
The subfloor is a very important aspect which mustn’t be overlooked. Small debris or unevenness across the subfloor can result in floorboard movement and creaking.
Preparing The Subfloor
Measure the Subfloor Evenness using a spirit level. If there is more than 4 mm of height difference over two metres, there is a risk of compromised floorboard longevity. (Note that thicker laminate floorboards have a higher tolerance with subfloor unevenness)
- Uneven Concrete Subfloors – This can be solved by sanding down bumps, using self levelling compound, or installing underlay which can offset the differences.
- Uneven Wood Subfloor – Sanding down the bumps should be much easier and more affordable than sanding down concrete subfloors.
- Subfloor is made of Battens – You will need to install a plywood base over the battens before installing floating flooring, which includes laminate flooring. This is because all floating floors are designed to be laid over a flat surface.
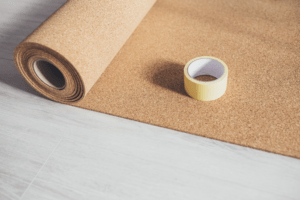
How to Install Underlay
- Unfurl the first row of underlay roll over the subfloor from one corner against the side of the longest wall to the other end of the room or hallway. Repeat this with the second row next to the first row.
- Peel off the adhesive wrapping and stick the two rolls together.
- Repeat this across the entirety of the room until every inch is covered up.
- Use the utility knife to cut off the excess material to make the underlay fit well along the walls.
- If necessary, you can use duct tape to hold the underlay in place if the pre-attached adhesive doesn’t hold them well enough.
Step 2: Installing Laminate Flooring
When installing laminate flooring, it is important to first identify which direction to run the planks towards. We recommend aligning the plank direction with the lights if applicable, or with the longest walls whilst taking into account the entire floor plan.
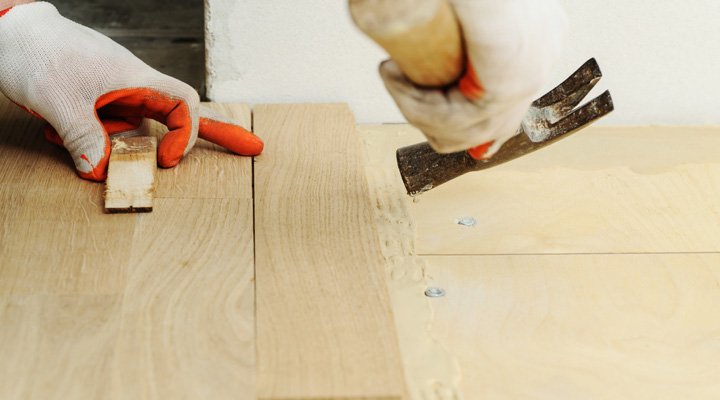
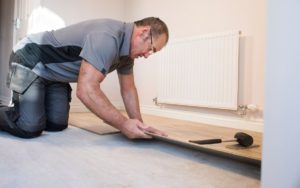
How to Lay Laminate Planks
- Expansion Gap – Start with placing a spacer against the side of the first laminate floorboard and one on the end of the board. Place the edge with spacers against the corner of the room. The spacers will provide the 10 mm wide expansion gap between the outer row of planks and the walls, which is necessary for floorboards due to natural expansion and shrinkage from temperature and humidity fluctuations.
- Complete First Row – Attach spacers to one side of the next floorboard and drop-lock it into the end of the first plank. Repeat this until you cannot fit another piece. You will now need to cut the exact size to complete the first row – refer to the ‘Cutting the Floorboards’ part below. If the planks are difficult to click together, use a tapping block and mallet to lightly hit them into place.
- Staggering the Next Row – Once you’ve completed the first row, you will want to start with the unused side of the cut plank to save material. This also ‘staggers’ the rows of laminate planks for a natural aesthetic. Once again, you need to place a spacer on the edge meeting the wall to maintain the 10mm expansion gap.
- Repeat – Repeat the same process for the next row and so on until you’ve reached the other end of the wall.
- The Last Row – The width of the original floorboard may need to be reduced to fit into the last row. You will need to measure the required width and use the table saw (not drop saw) to cut the laminate planks accordingly.
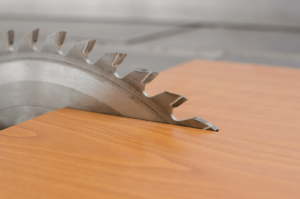
How to Cut Laminate Planks
This will require a drop saw or table saw, a measuring tape or ruler and a pencil for marking the areas to cut. Cutting floorboards is very dangerous and requires the users undivided attention as the saw can cause devastating accidents.
- Find a suitable location for cutting the floorboards, definitely outside in an open area if possible. This is because laminate floorboards release a lot of dust and smoke when being cut, and will make a big hassle during clean up if cut indoors.
- Measure and mark the exact length of the plank you need, taking into account the 10mm expansion gap from the perimeter if applicable.
- Wear noise cancelling ear protection. Cutting can be extremely loud and can cause deafness.
- Carefully cut with one hand always holding the plank still and the other hand on the handle of the blade for drop saws, or both hands of the plank where the blade is not pointed towards for table saws. Make sure to exercise extreme caution to not touch the blade, especially when it is still spinning after use.
- Always unplug the power chord when the table saw or drop saw is in idle mode for safety purposes.
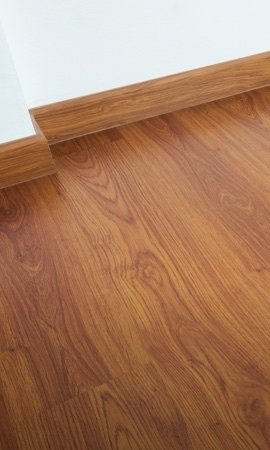
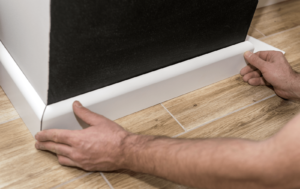
How to Attach Skirting to Laminate Flooring
After laying laminate floorboards across the entire floor, you will need to finish it off with a scotia or skirting board along the perimeter. Not only does it offer a beautiful transition from the walls to the floor, but it also covers the 10mm gap between the wall and the outer row of planks.
- Measure the length of the first wall with the tape measure to double check the length, before marking the skirting board with a pencil.
- Use the drop to cut straight across the pencil marking.
- On the other end of the skirting, cut off a 45° angle to accommodate for the corners. This will require precision and careful marking.
- Place the skirting board against the wall with the 45° angle edge against the corner.
- Repeat the process with the other piece, placing the 45° angle against the first one to make a perfectly flush corner.
- Secure to skirting boards in place using a nail gun, with one nail approximately every half metre.
- Repeat the process of measuring, marking, cutting and attaching each skirting board to the wall until you’ve finished off the last of the perimeter.
- You may need to make custom skirting slices at bends in the walls where necessary. This will require the same process of marking and cutting the skirting boards at various angles in accordance with the shape of the wall.
- You will notice small gaps between the walls and the skirting board. Use the silicone filler from a pneumatic gun to squeeze a delicate amount on the gap to cover it up. Make sure the colour matches the walls (most likely white). Wipe off excess silicone filler with a rag or cloth.
- To finish up, we will need to cover the minute nail punch holes on the skirting board. This can be achieved by applying a new coat of oil paint. If the original coating of paint is water-based, you may need to use a water-based option.
Step 3: Cleaning Up & Maintaining Laminate Flooring
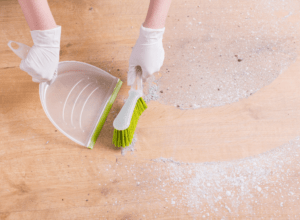
We all love cooking, but we must also wash the dishes. This universal law of life also applies to installing laminate flooring! After installation, there will be lots of dust, floorboard offcuts and empty boxes to remove from the job site.
The best way to clean up after the job is to place all the wastage into the boxes in which the flooring arrived. We recommend using a vacuum cleaner or broom to sweep away all the dust from the flooring. Only once the floors are spick and span, do you want to move the furniture back into place if applicable.
Laminate floors are very durable, in fact more scratch and dent resistant than any other timber or synthetic floor coverings. Furthermore, most laminate floor ranges come with water resistance, which means you can mop them without risking water damage (provided you don’t use excess water or flood the floors). This means they are overall very easy to clean and maintain.
We have an entire article about the best practices when cleaning laminate flooring here!
Pro Tips for Laminate Floor Maintenance:
- Felt Padding – Attaching soft padding to the bottom of furniture legs removes the biggest cause of floor scratches.
- Trim Pet Nails – If you own cats or dogs and other pets, we recommend trimming the nails regularly to keep them from accidentally scratching the floors.
- Indoor Footwear – The biggest no no when it comes to laminate flooring is bringing outdoor footwear (even worse high heels) into the home.
Conclusion – What Next?
Whether you have purchased laminate flooring already or are still making up your mind, remember that FloorVenue is here to support you from the moment you opened this article until your floors are fully laid, and even with cleaning and maintaining! You can always contact us for advice whether it is assistance when it comes to flooring.
- If you are still looking for the right flooring, we recommend contacting us for customised advice to help you make the best decision based on your requirements and budget. You can browse our incredibly wide range of laminate flooring here!
- If you are looking for professional and licensed installers at competitive rates, FloorVenue will be able to help you here too if you contact us.
- If you simply want flooring advice for free, don’t hesitate to fill out the contact form at the bottom of this page! We’d love to help you out.
- If you’re interstate (QLD, VIC, NT, SA, ACT) and would like to purchase a quality laminate floor, Flooring Works has your back!
Disclaimer: FloorVenue will not be liable for accidental damages or injury resulting from failure in following the correct protocol. Specific products have their own installation guides and we highly recommend referring to them.
