
Flooring Installation & Repairs
Are you looking for a professional and accountable installation team to lay your new...
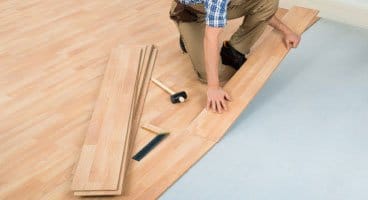
Are you looking for a professional and accountable installation team to lay your new...
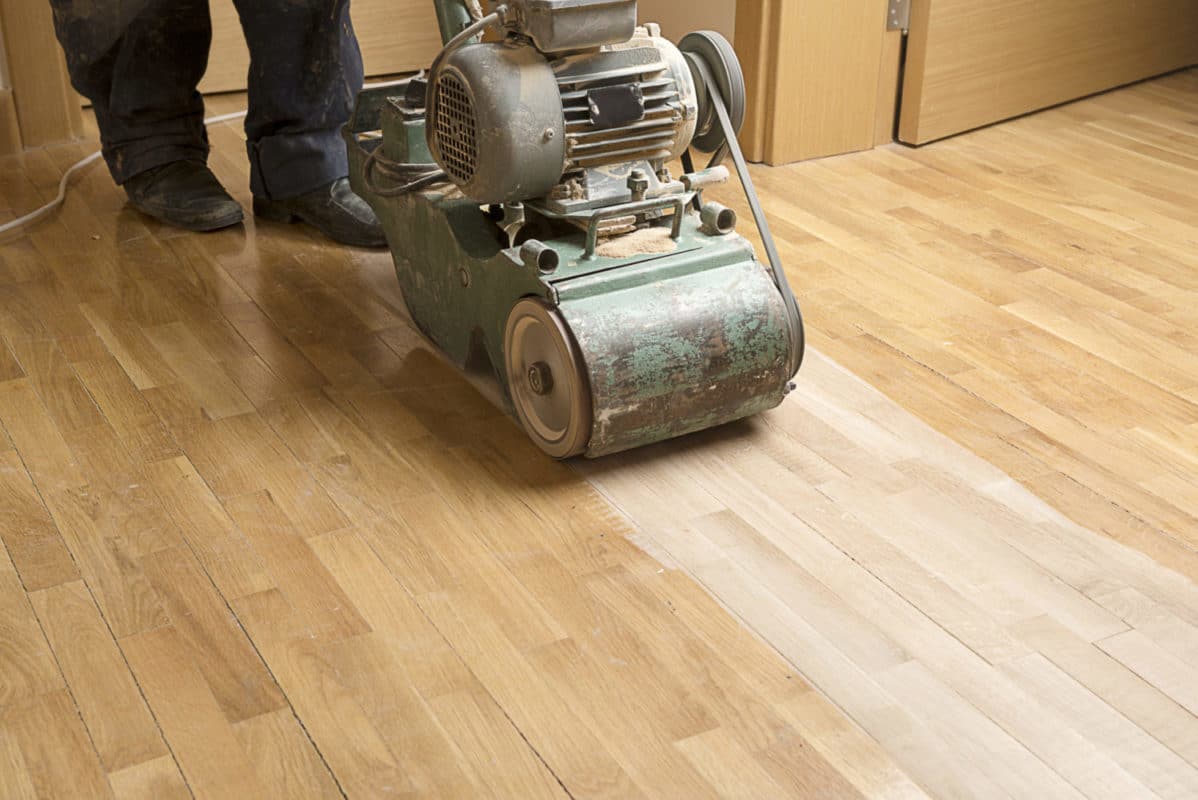
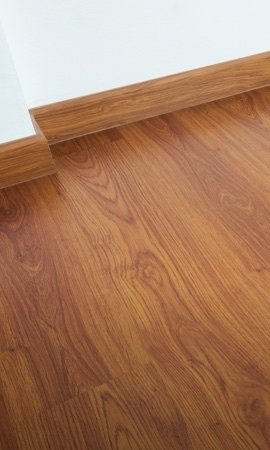
Are your floorboards scratched or lack the shine and beauty they used to have?...
We supply flooring and accessories to NSW flooring retailers and tradesmen. We have been...
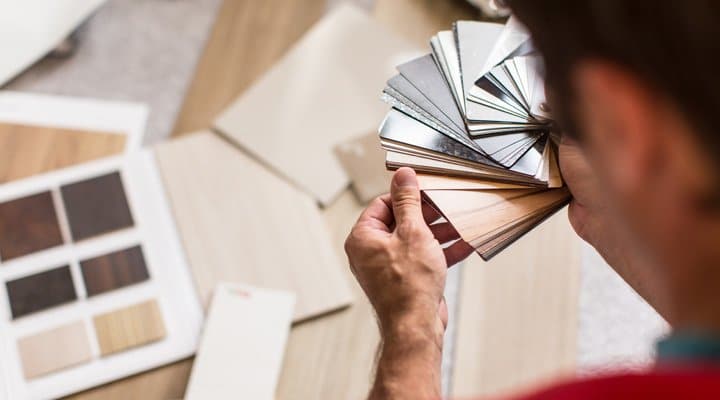
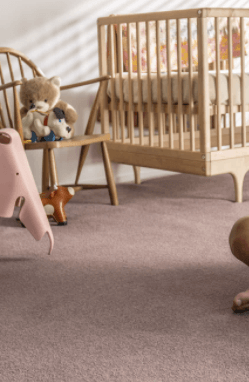
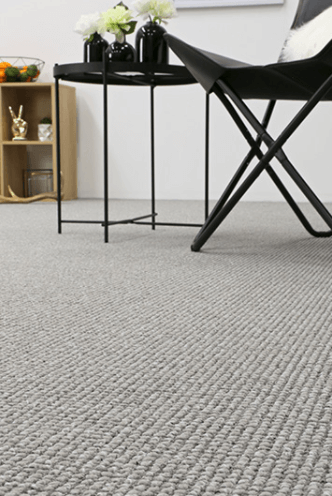
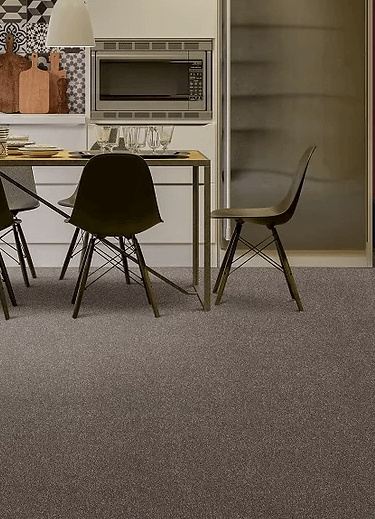
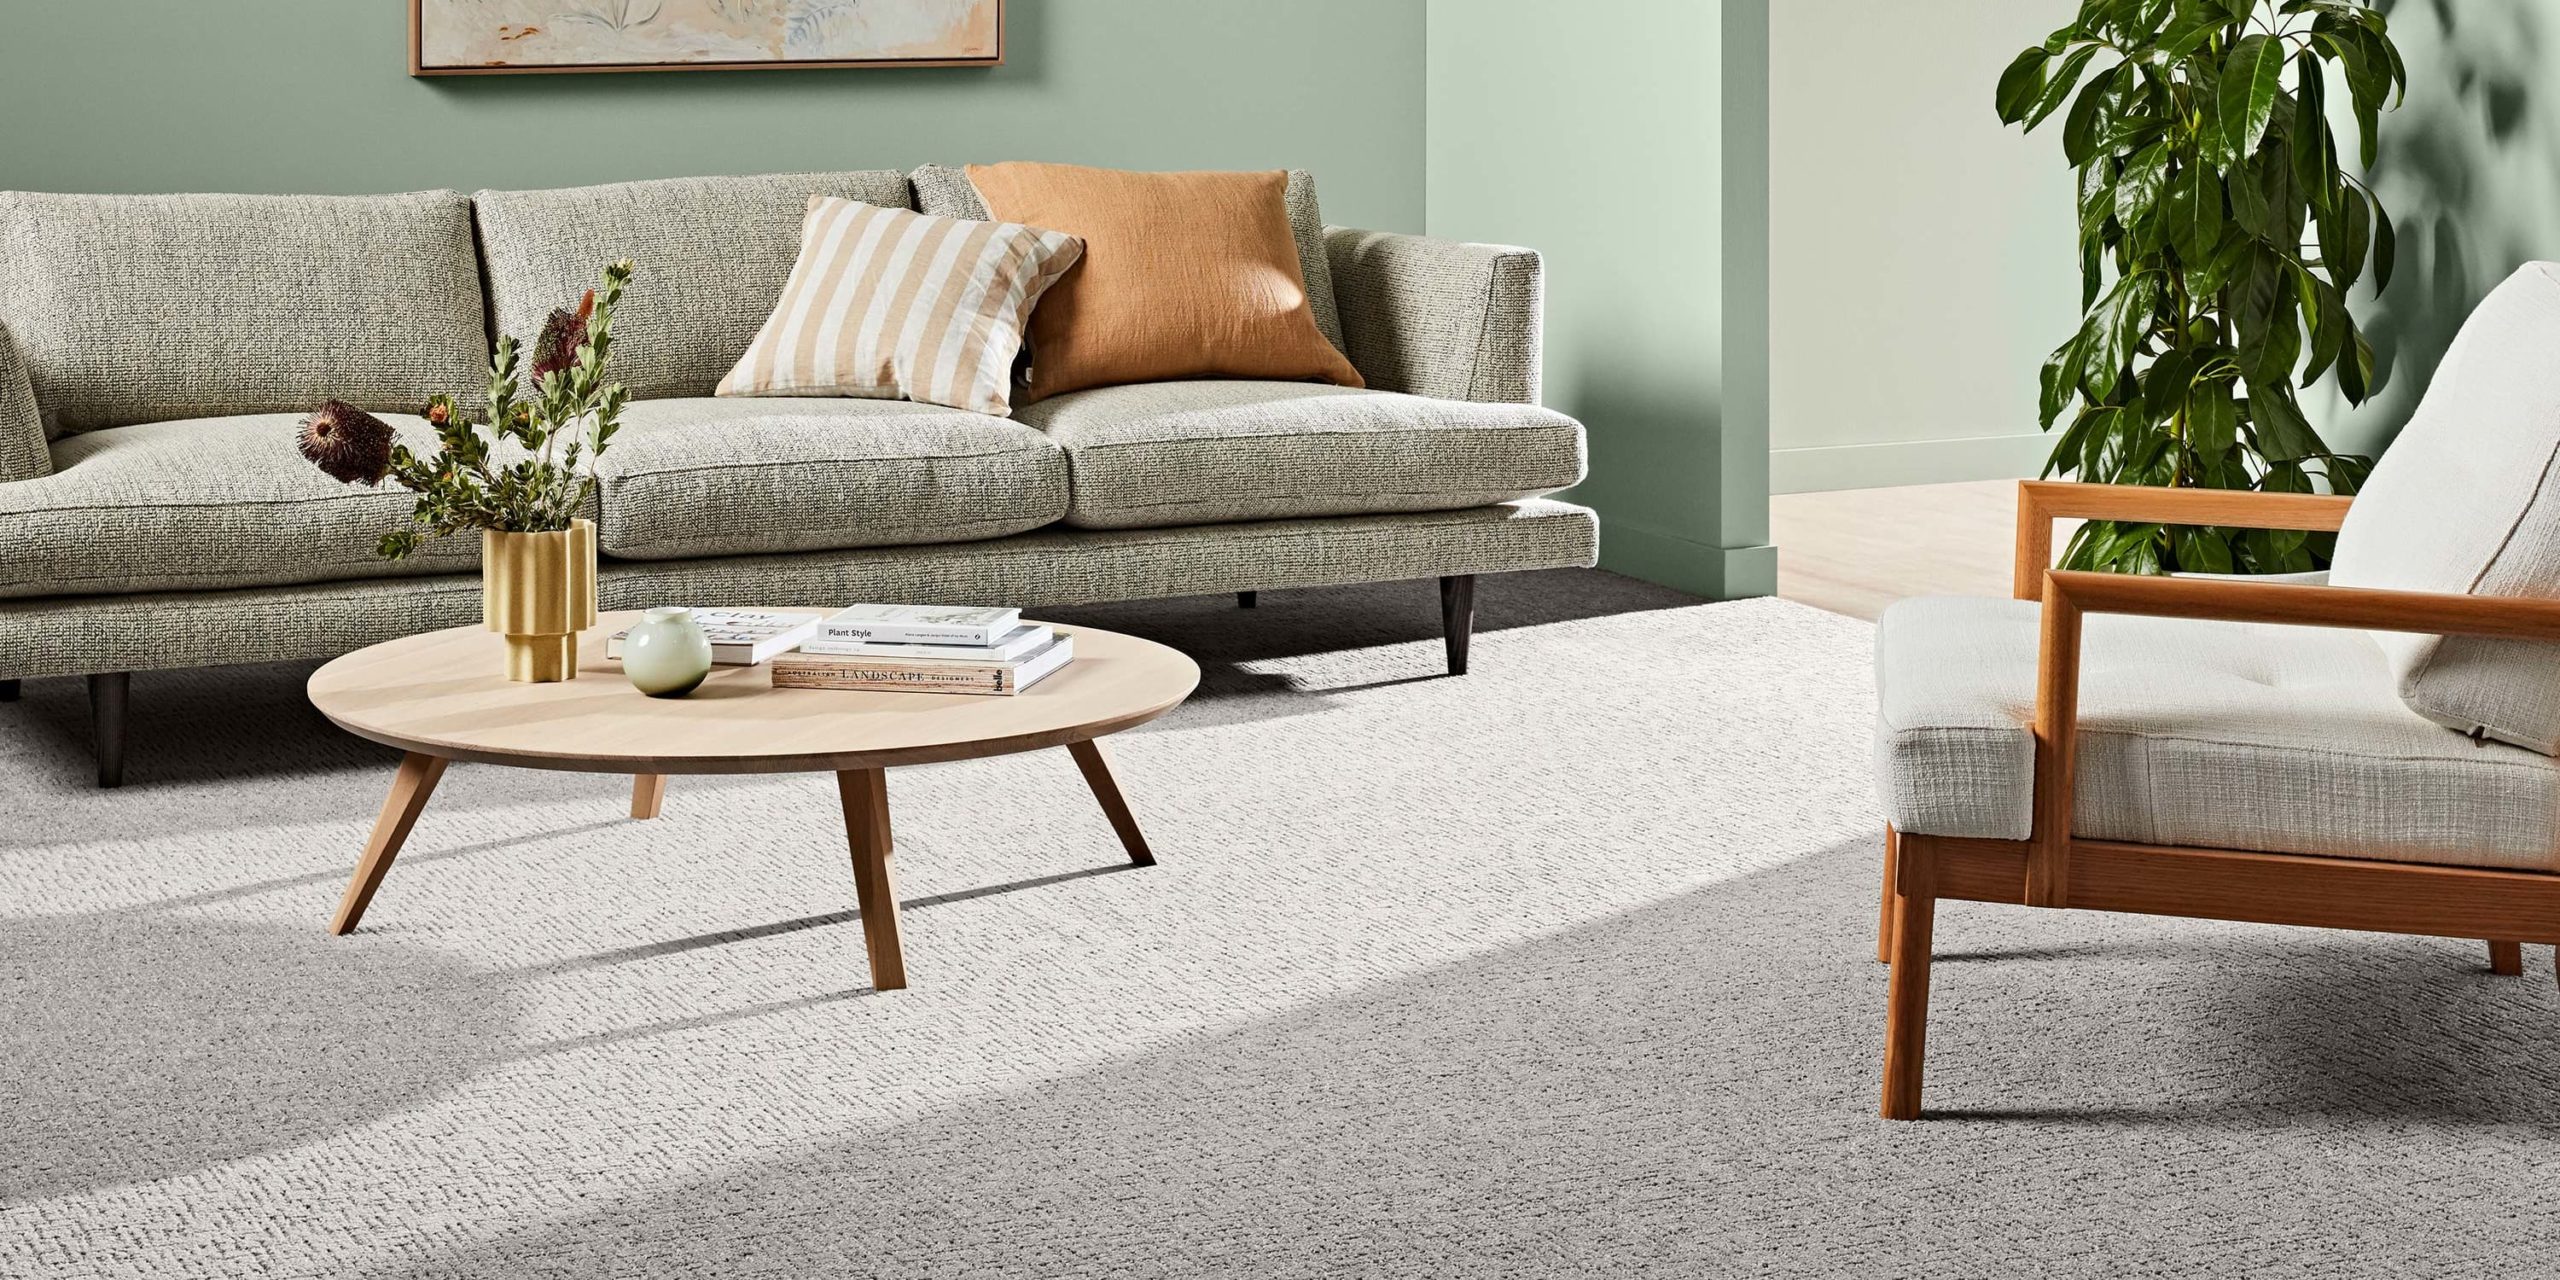
Visualise flooring, carpet or rugs in your own room
Visit a showroom or give us a call:
 Inner West & East/South (Belfield): 9750 5095
North & Beaches (Chatswood): 8880 9866
North & West (Blacktown): 9831 7621
South & West (Campbelltown): 4641 1363
Inner West & East/South (Belfield): 9750 5095
North & Beaches (Chatswood): 8880 9866
North & West (Blacktown): 9831 7621
South & West (Campbelltown): 4641 1363
 Samples
Wirebrushed Blackbutt flooring combines one of Australia's favourite eucalyptus hardwood timbers with a wirebrushed surface. The Wirebrushed Blackbutt engineered timber floor is designed for high-impact environments. As an engineered floor, you'll find a 3mm veneer of Blackbutt timber bonded with several layers of quality plywood - making it easy to install as a floating floor, and also more stable with environmental changes in temperature and moisture.
The Everfloor wirebrushed engineered timber flooring range brings a beautiful rustic and classic look into any room. It features the best of all Australian hardwoods – spotted gum and blackbutt – and finishes it with a gorgeous wirebrush surface. The special wirebrushed surface is matt (not shiny), where you can feel the texture and grain of the wood.
With 3mm of real timber bonded to the surface, these engineered floorboards can be sanded and polished up to two times over it’s lifetime, making it a worthy long term investment.
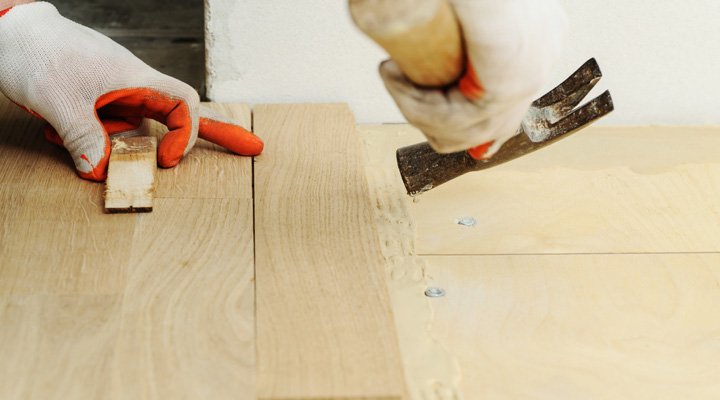
The easiest DIY floors are floating floors like this one! They click lock together and don’t need glue or nails - they're super easy to install and if you make a mistake, you can simply un-click them and redo it. Floating floors include laminate floors, hybrid floors, bamboo floors and even engineered timber (if you are after real wood).
The most important tools are:
Other “nice-to-haves” include a DIY Flooring Kit (available at Floor venue), spirit levels, tape measures, safety equipment, and work gloves.


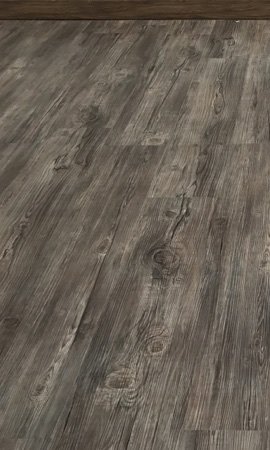
Timber flooring with a wirebrushed finish is created when a rotary steel wire brush is used to brush the surface of the wood’s lacquer. This gives it a distressed and rustic look, helping the floors look more “antique” and “classic”. The oil used often has a matte type of finish so the floor is less reflective and more textured.
Wirebrushed timber flooring looks more rustic and can give any interior a more “traditional” and “authentic” wood look. Wirebrushed surfaces are also less reflective, meaning they are better at hiding scratches and damages that may be accumulated by hardwood floors over time. They also hide scratches in the brushes of the surfaces. Furthermore, wirebrushed surfaces are often more slip-resistant as they have a textured surface, compared to their semi-gloss or gloss counterparts.
Wirebrushed timber floors are slightly more difficult to clean beause the textured surface is more likely to trap dirt and sand. It may also be less desireable to sand and polish the floor, as you will lose the wirebrushed surface and its difficult to replicate on-site. However, wirebrushed floors are designed to look rough and scratches will only add to it’s style.
Get a FREE consultation immediately, Free on-site consultation and quote. No-obligation and Receive a callback within 24 hours.