


17 Nov Ultimate Guide To Floor Levelling Compound
What is a Self-Levelling Compound?
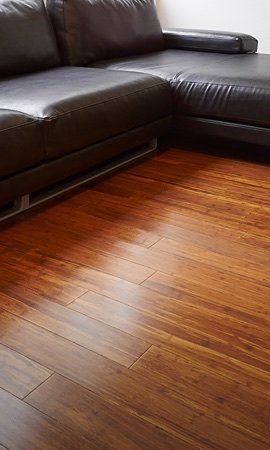
A levelling compound is a self-levelling liquid used to level out uneven subfloors. It is a fast-drying and easy-to-use product that can be applied over various interior subfloor types, including concrete, tiles, timber and particleboard/plywood. Self-levelling compound is typically used to prepare subfloors for floating floor installation, such as laminate, hybrid, engineered timber, and bamboo flooring or other floor coverings as they require a very flat and even subfloor.
Benefits of levelling compound:
- Simple & Effective: Easy to use as it lets gravity do the work by pulling the compound into a flat and smooth surface.
- Rapid Hardening: Most levelling compounds hard set in only 6 – 12 hours. This means you can walk and let other trades work whilst it cures, saving you time!
- Flexible Application: Levelling compound is very versatile and can be used over almost every type of subfloor whether concrete or timber.
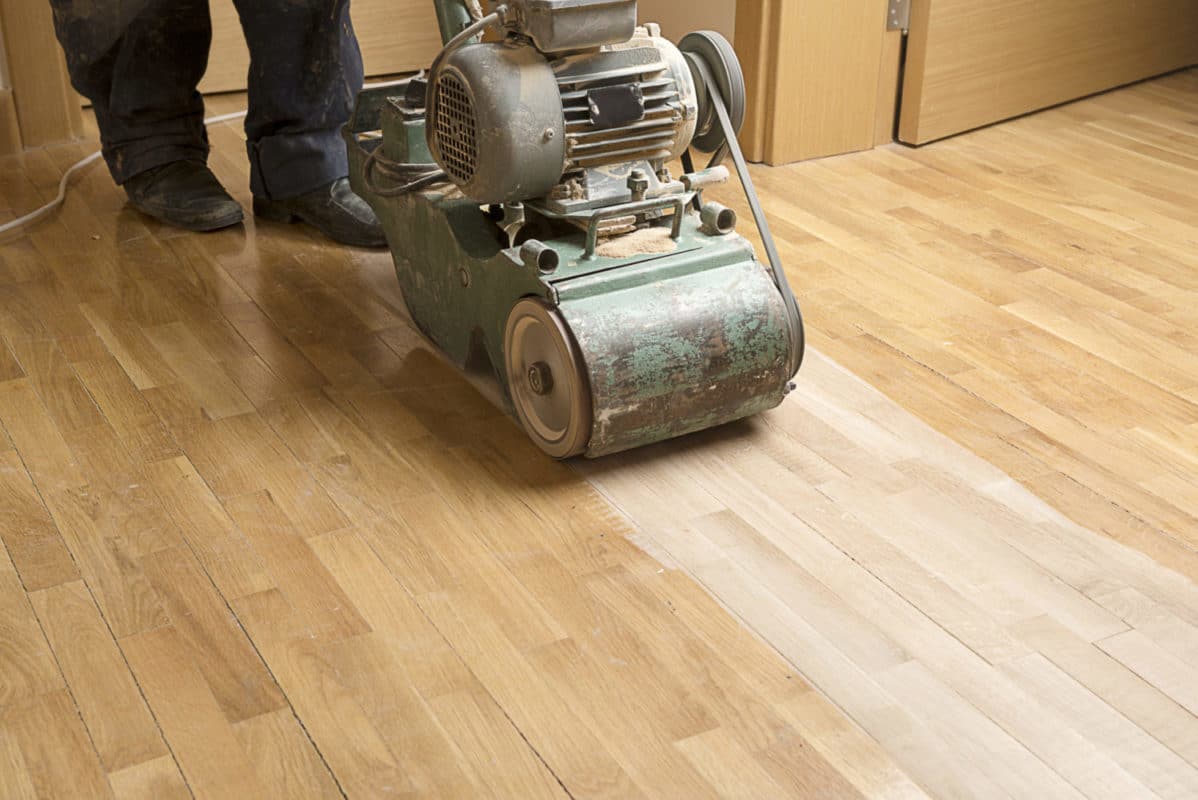
How To Determine Whether My Subfloor Needs Levelling
Hard flooring is great, however, their worst enemy is an uneven subfloor. Unlevel subfloors can cause a myriad of problems including bouncing underfoot, creaking noises, and in severe cases – damage to the floorboards themselves! Subfloor unevenness can be caused by several factors, such as poor construction, settling, or moisture damage. Luckily, modern technology brings self-levelling concrete into the picture. These are designed to level out the subfloor by coating the surface which will set into a new flat and even subfloor.
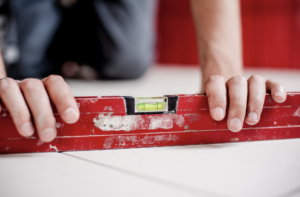
A subfloor is considered uneven if it has any variations in height greater than 2 – 4 mm over a distance of 2m which isn’t a lot if you think about it. Using a spirit level, you can check whether your subfloor is suitable. We recommend a two-metre-long spirit level as it replicates your typical floorboard length. Check the height of subfloor bumps and dips with a ruler as you slide the spirit level across the subfloor. Be sure to rotate and check from different angles.
How Much Unevenness Can My Floating Floor Tolerate?
As a general rule of thumb, most floating floors like laminate boards, engineered timber flooring and bamboo flooring can tolerate around 4mm variance over 2 metres before you begin feeling bouncing underfoot.
Hybrid flooring on the other hand can only tolerate around 2mm variance over 2 metres before the unlevel sections become noticeable.
Note that tiles with large grout lines will require a skim coat of floor levelling compound even if they are flat and even. This is because the click-lock joins can give and break if they are directly above grout lines, especially wider ones.
Can Levelling Compound Be Used On Surfaces Other Than Concrete Slabs?
Yes, they can be used on almost every surface. The application method varies, depending on whether the subfloor is a concrete slab or wooden base. Properly sealed concrete slabs only require a primer before a self-leveller can be poured over, whereas a wood substrate needs waterproofing and sealing as well.
Self-levelling compound cannot be applied over existing floating floors. We highly recommend removing and disposing of any existing floor coverings in advance.
The following subfloors don’t always require waterproofing (may require sealing):
- Concrete Slab
- Ceramic, Porcelain and Travertine Tiles
- Aerated Concrete e.g Hebel Flooring
These wood-based subfloors ALWAYS require waterproofing and sealing. This is a non-exhaustive list:
- Solid Timber Flooring
- Wooden Sheets i.e Plywood, Masonite, Particleboard
- Yellow/Blue/Red Tongue Flooring
- Cork Flooring (May be more suitable to remove if there is concrete beneath)
Exceptions which may not be suitable for levelling:
- Magnesite Subfloor – This may contain asbestos, hence FloorVenue recommends contacting a professional magnesite removalist company. Especially if it has cracks and bounces underfoot.
How To Use Self-Levelling Compound On Uneven Concrete Slab
Note: Self-levelling compound is not the only way to level a subfloor. If you wish to discover more methods, check out our comprehensive guide on how to deal with an uneven subfloor.
Step 1: Clean & prepare the subfloor
The subfloor must be clean, dry, and free of dust and debris before applying a self-levelling compound. Any cracks or holes in the subfloor should be repaired or sealed using a suitable filler. Be sure to remove any nails or residue glue from previous flooring or carpets that may have been present.
Step 2: Prime the subfloor
Important Note: Wooden subfloors like chipboard, timber or yellow tongue require waterproofing and gap sealing during the priming process. Concrete subfloors only require a primer.
A primer is applied to the subfloor to help the self-levelling compound adhere properly. The primer should be allowed to dry completely before applying the self-levelling compound. Rookies often skip the priming process resulting in the levelling compound cracking after drying.
If you have a wooden subfloor, it is important to seal all gaps/holes with sealant or a membrane and apply a waterproof primer on top. This is because wood absorbs moisture which can cause warping or buckling problems down the line if not prepared properly.
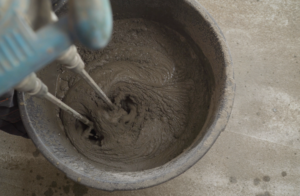
Step 3: Mix the self-levelling compound
The self-levelling compound is mixed with water (or another suitable solvent) according to manufacturer instructions. It is important to mix the compound thoroughly until it has a very smooth consistency and is free of lumps. This can be done easily with an industrial mixer which looks like an oversized egg beater.
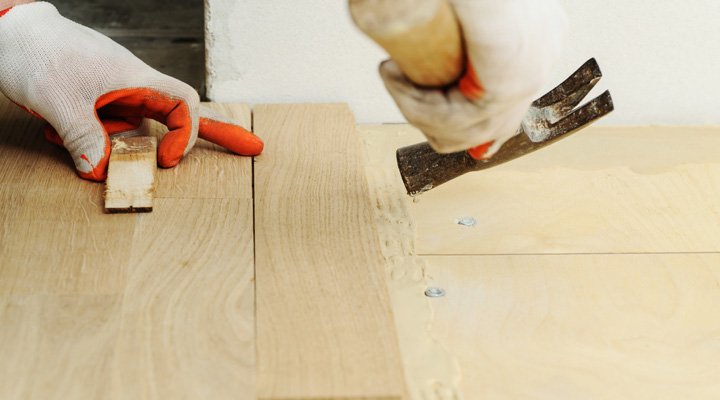
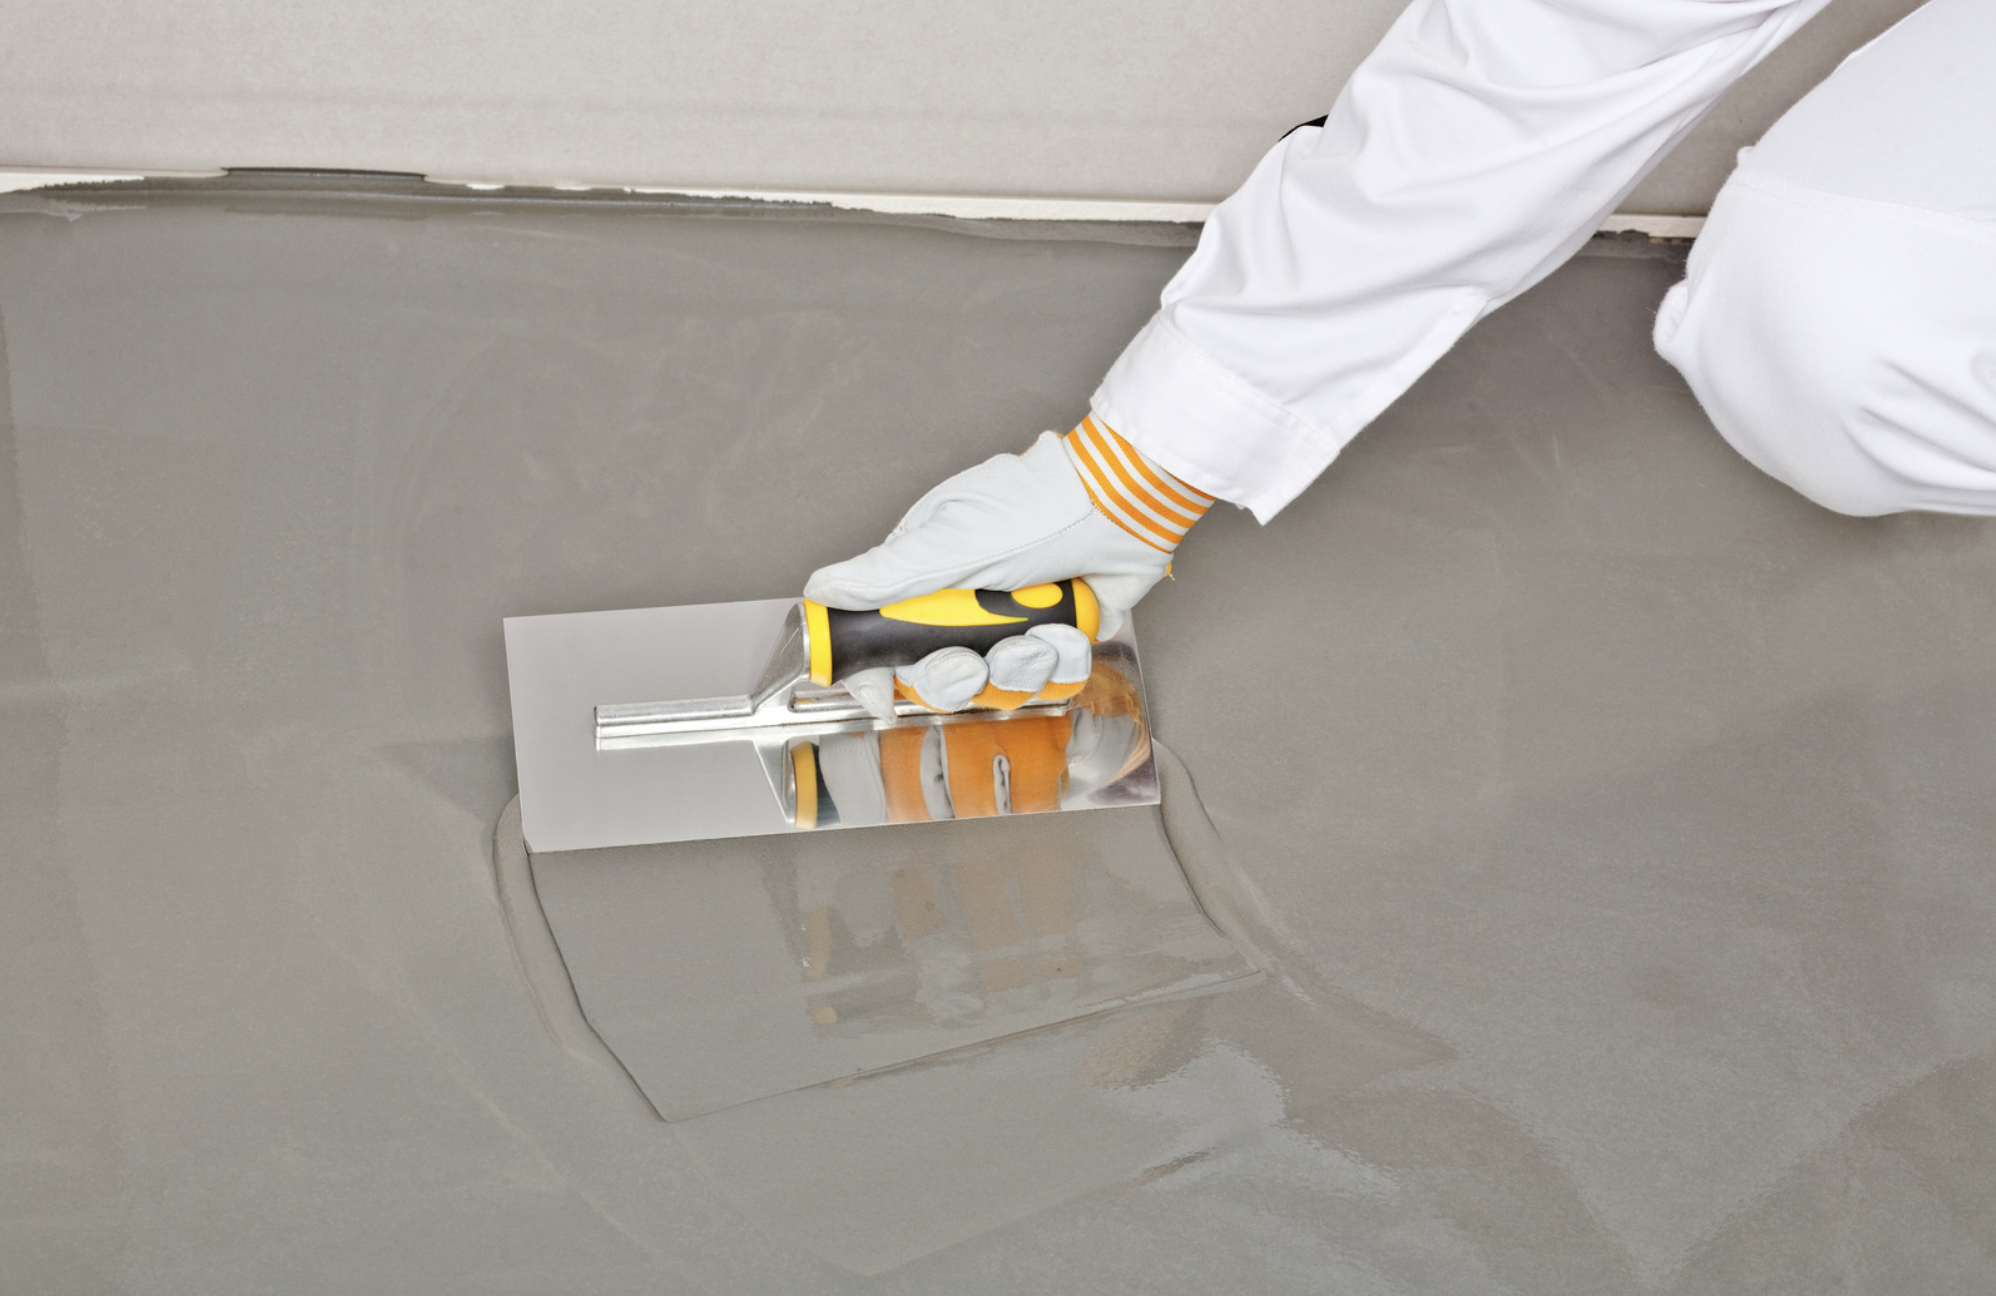
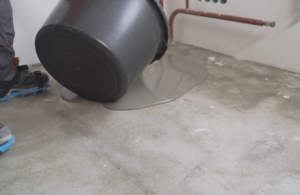
Step 4: Pour the self-levelling compound
The self-levelling compound is poured onto the subfloor from the farthest corner of the room and worked towards the door. This needs to be done carefully to have even distribution across the surface. The compound should be spread out evenly using a trowel or roller if necessary.
Note that most levelling compounds have a minimum thickness of 3mm to maintain structural integrity. Too thin, and it may crack once dried!
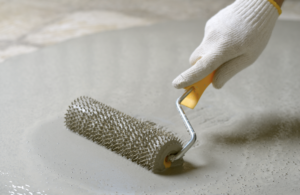
Step 5: De-gas the self-levelling compound
Once the self-levelling compound has been poured, it is important to de-gas it to remove any air bubbles. This can be done using a spiked roller or a de-gassing brush. This will otherwise result in air pockets, which means the new substrate won’t be stable once dry. A little bit of residue bubbles won’t cause harm, however excessive bubbles can be an issue.
Step 6: Allow the self-levelling compound to dry
The self-levelling compound should dry completely before installing the floating floor. There should be no more than 5.5% moisture content reading before installation. You can easily check the moisture reading by purchasing a moisture meter, calibrating for concrete/brick surfaces. The drying time will vary depending on the thickness of the compound and the ambient temperature. The more airflow and open windows (unless it rains), the quicker the levelling compound will dry.
Are you in a rush to get the job done?
Installing waterproof floors like hybrid flooring over uncured levelling compounds can result in mould growth in the underlayment. Laying waterproof hybrid flooring with a plastic moisture barrier will minimise this risk, but won’t be as effective as giving proper drying and curing time. Whilst some companies may be willing to install before the levelling compound is dry, they usually won’t offer a warranty for any moisture-related issues that may occur down the line.
How Much Does Self-Levelling Compound & Subfloor Levelling Cost?
Most flooring companies in Sydney & NSW will sell residential-grade levelling compound anywhere from $35 – $50 per 20kg bag. You can cover around 2 square metres per 20kg bag, varying based on the severity of unevenness and the nature of the job. This averages out to $20 – $25 per square metre for supply only.
The market rate for the full subfloor levelling service is $40 – $90 per square metre in Sydney & NSW as of 2024. Subfloor professionals will charge based on the type of subfloor, how uneven it is, and the total size of the job. Wooden subfloor will cost more because they require surface sealing with waterproof primer in advance.
- Supply Self-Levelling Compound: $20 – $25 per square metre.
- Concrete Subfloor Levelling (Material & Labour): $40 – $60 per square metre.
- Timber / Particleboard Subfloor Levelling (Material & Labour): $70 – $90 per square metre.
- FloorVenue can always beat the market rate. Reach out for a free quote!
FloorVenue stocks floor levelling compounds specialised for both residential and commercial use. Whether you’re looking for supply only or a full levelling service, do reach out to us. We highly recommend speaking to one of our friendly flooring experts as every job site and subfloor is different. Choose FloorVenue for a solution tailored to your situation!
Disclaimer:
- This article offers general advice for subfloor levelling and applying self-levelling compounds. FloorVenue holds no responsibility for any decisions or actions made by individuals or companies following our advice as every product and job site is different.
- Different flooring / levelling compound manufacturer guidelines vary and have their own application processes which should take precedence over general advice.
