


26 Feb Ultimate Guide to Hybrid Flooring Installation
Hybrid Flooring Installation Guide
So you’re looking to install a hybrid floor for your home or office – great choice! Hybrid floors are extremely popular due to their versatility and durability, especially since they’re 100% waterproof and can be used in high-moisture areas like the kitchen and bathroom. So what’s next?
In this article, we’ll take you through how to install hybrid floors, and it’s surprisingly not too difficult!
Step 0 (Pre-Installation): Understanding floating floors
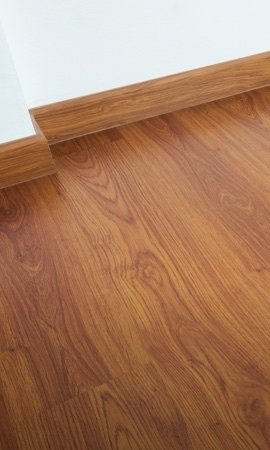
First, it’s important to understand that hybrid flooring is designed to be installed as a ‘floating floor’ – that is, you lay the floorboards over your existing floor without glue and nails. A floating floor construction is extremely convenient and lowers installation costs, and you can lay floorboards on virtually any surface (such as tile, timber, and laminate). However, floating floors require your floor to be very even, and are unsuitable for carpeted floors.
The secret to how hybrid flooring can be so easily installed lies in their ‘click-lock’ joints – a technology that allows floorboards to be firmly held together with the tap of a rubber mallet. As a result, the entire floating floor installation can be anchored to the ground merely through the forces of gravity and friction.
If you’d like to learn more about floating floors, we have a comprehensive guide about them here! Other flooring types that also use floating floors include laminate and engineered flooring and installing laminate or engineered flooring will generally follow a similar process to hybrid flooring.
Step 1: Assess your space
Planning is essential to get the most out of your hybrid floor installation. Once you’ve decided on a design, it’s time to take a look at your space. Here’s a few key considerations to take into account:
Size of space
The size of your space is important for determining how many hybrid planks you need and how much installation will cost.
The size of your room is also an important factor when choosing the length of your floorboards – if you’d like to learn more about this, check out our ultimate guide to hybrid flooring.
Suitability of subfloor
Your subfloor (existing floor upon which the hybrid floor will be laid) should be checked for flatness – generally, it can’t rise or fall by more than 2mm over a 1000mm radius for an optimal hybrid flooring installation.
If your subfloor has a high moisture content (which can occur naturally in some concrete and wooden flooring), a moisture barrier might also need to be installed before you lay your hybrid planks.
Flooring layout
Planning where you’ll be laying the hybrid floorboards ensures that you get the best look out of them.
Make sure that there aren’t any awkwardly-shaped or particularly short floorboards at the edges of your room, and avoid aligning the joints of the hybrid planks with seams or joints in your subfloor. Pay attention to anything that might obstruct the installation of the planks, such as power outlets.
The orientation of your hybrid planks is also important for aesthetic purposes – they are generally laid parallel to any window where natural light is present, and are staggered with each other to help with a natural appearance.

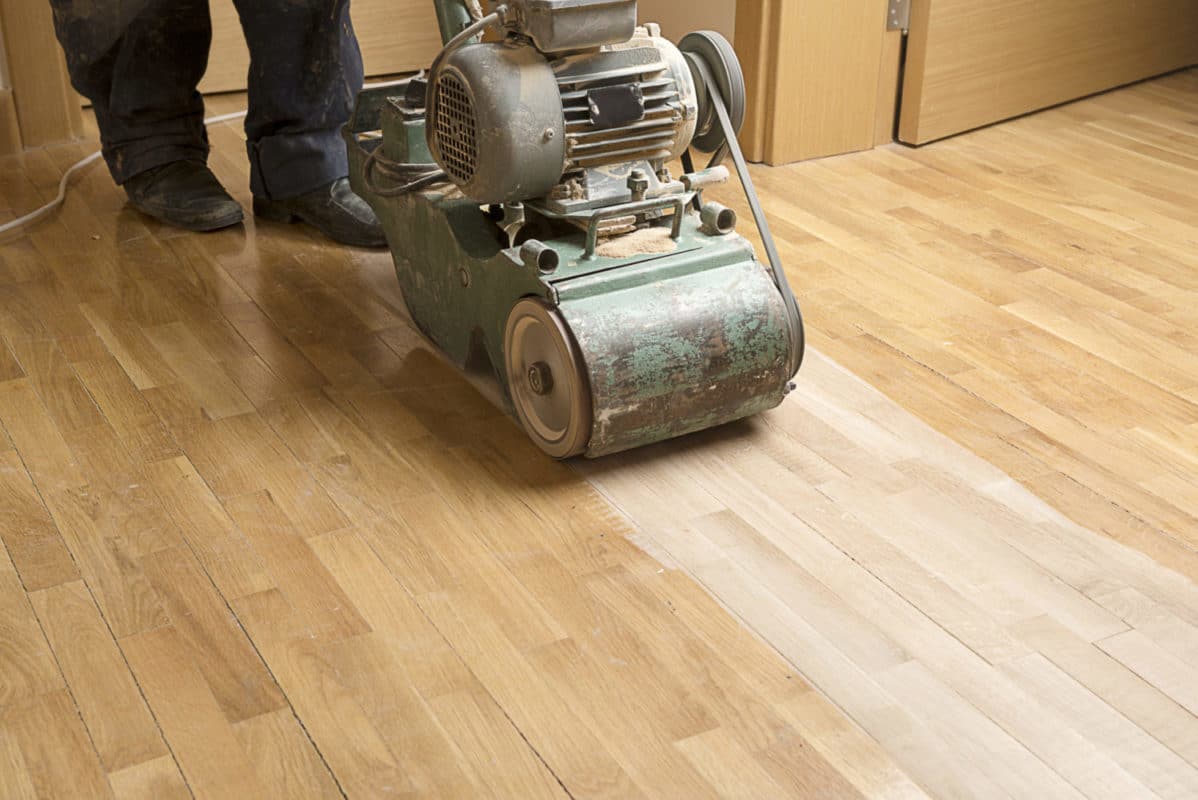
Step 2: Prepare the subfloor
Once you’ve perfected the plan for your space, it’s time to start preparing your subfloor in anticipation of a hybrid flooring installation. Make sure that the subfloor is clean and dry, and free of contaminants such as dirt, paint, and oils. You’ll need to remove any existing floating floors and relocate any furniture located in the area.
If your flooring is not level enough for a hybrid floor to be optimally installed, now’s the time to grind or fill in any deviations. According to flooring experts at FloorVenue, most hybrid floors can withstand a maximum of 3mm difference in the subfloor over two metres.
Step 3: Prepare the underlay (Optional)
It’s also important to consider whether you need to install an underlay. Underlay is a soft foam or rubber layer underneath the hybrid planks which allows the floor to be more comfortable as it ‘gives’ a little under your feet. Underlay can also reduce footfall noise and minimise the impact of slightly uneven subfloors, making them more suitable for hybrid flooring. This is generally not too much of a worry, as most hybrid floors come with underlay pre-attached.
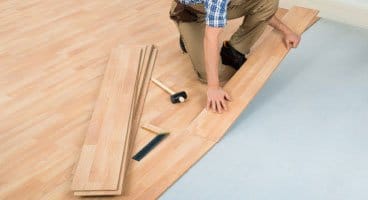
Step 4: Lay the hybrid planks
Here’s the moment we’ve all been waiting for! Laying hybrid flooring requires minimal equipment – you’ll typically only need a drop saw, table saw, utility knife, rubber mallet, ruler, pencil, tape measure, some spacers, and a pull bar.
Starting your installation
Hybrid planks are generally installed from left to right.
Start by laying the first row of hybrid planks. The tongue side of the planks should be facing away from the wall, and all of the planks in one row should easily slot into each other.
Use the spacers to ensure that the planks are placed at a uniform distance away from the walls. This creates an expansion gap, which is needed to allow for natural size variations in the hybrid planks as the temperature changes. The expansion gap is generally between 6 to 10 millimetres depending upon the climate of the location in which the floors are installed. Don’t worry – these gaps can be covered up using mouldings or transition strips once the entire floor is installed. In wet areas, these gaps should be caulked with a suitable silicone.
Connecting rows together
It’s now time to lay the second row of hybrid planks.
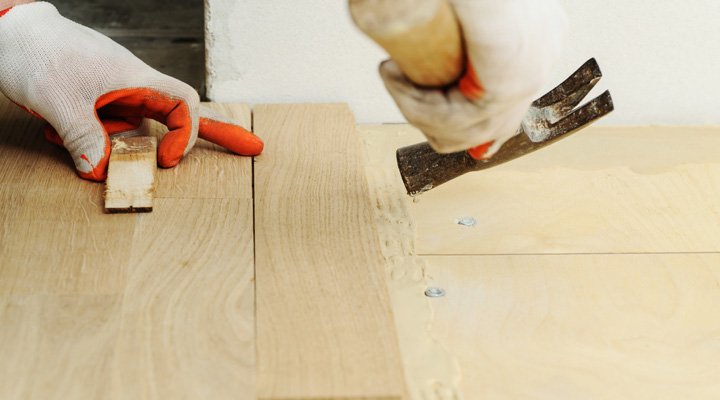
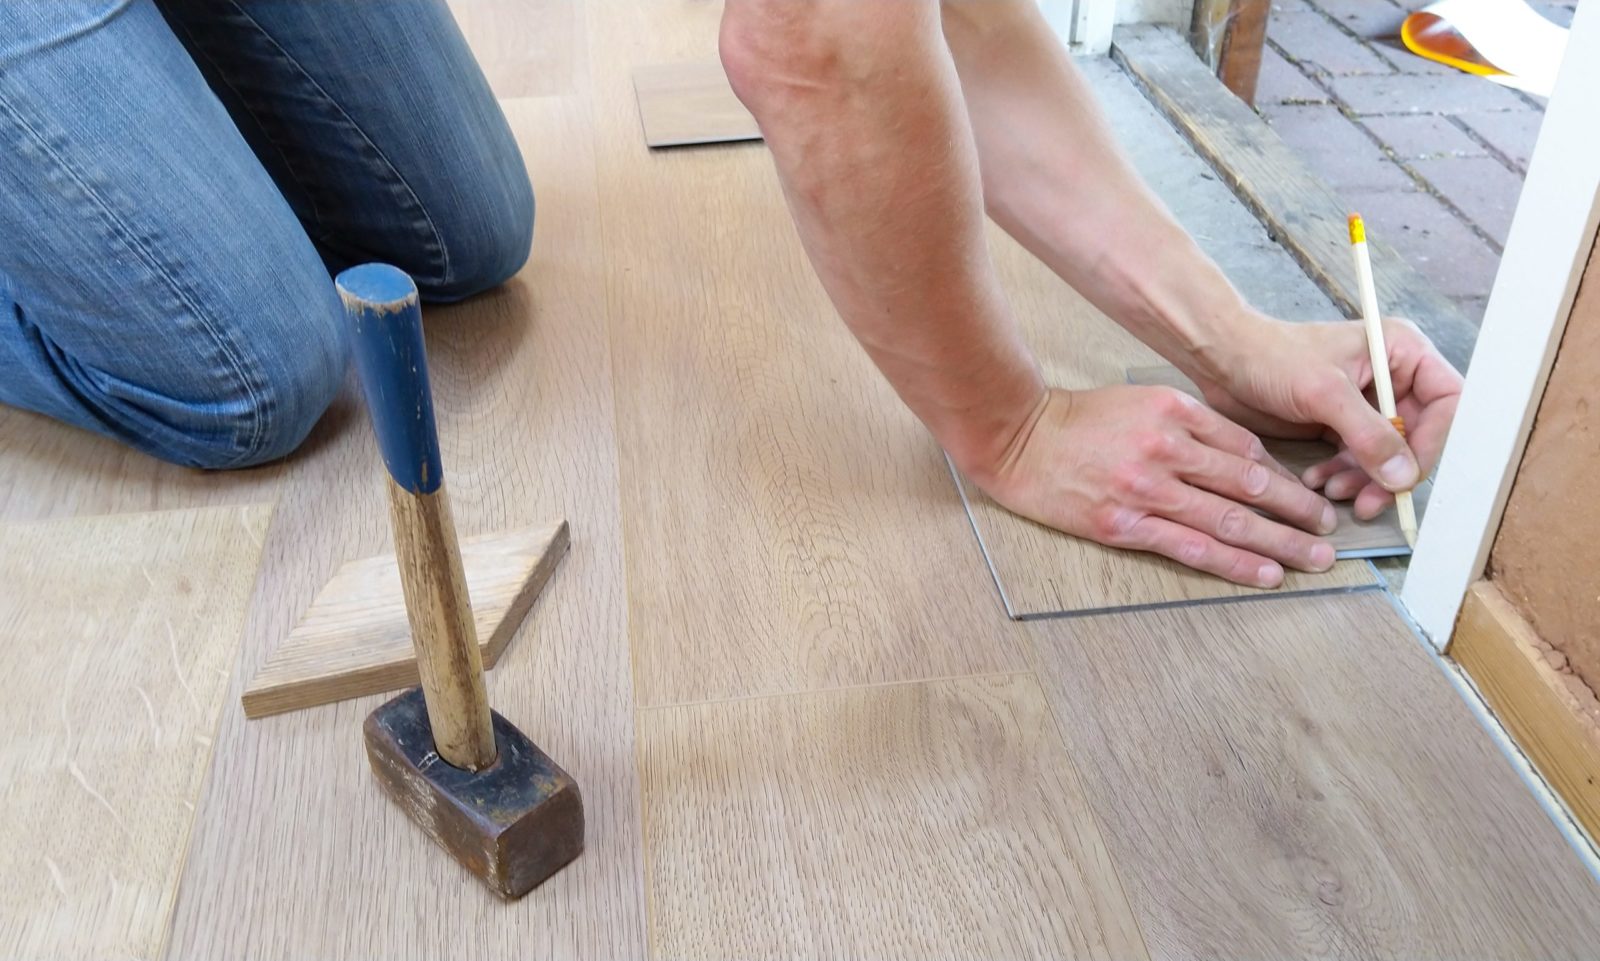
If your hybrid planks are all equally sized, you might want to cut the first plank shorter so that you can stagger the planks. Cutting hybrid planks is easy – after measuring and drawing where you would like to cut, use a ruler and knife to score the plank through the top laminated layer. You can then turn the plank over and snap it into two pieces. Alternatively, you can use a saw to cut completely through the hybrid plank.
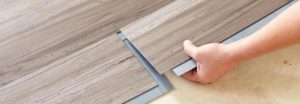
At an angle of 30 degrees above the floor, insert the grooves of the plank you’re installing into the tongues of the installed planks. Gently tap along the joint with a rubber mallet to engage the click-lock mechanism. If done correctly, the joints should be tight and flat, without any gaps. If there are gaps, lightly tap the planks together with the mallet and a scrap piece of flooring.
At this point, it’s important to start regularly checking whether the planks you’ve installed so far are parallel to the walls. The earlier you make any changes, the easier!
Continuing the installation
Continue to lay the rest of the planks, clicking them into place as you go. Use the utility knife to cut the planks to account for any obstacles. When it comes to the last row, use the pull bar so that you can pull them into place using the rubber mallet. And that’s it – now you know how to install hybrid flooring!
Although hybrid floors are one of the easier types of flooring to install yourself, professional installation is always a convenient alternative, and ensures that you comply with any relevant building codes. If you’re located in the Sydney (Australia) area, FloorVenue can supply and install hybrid planks for you. We offer free on-site consultations and quotes with no obligations – get started by contacting us here!

Step 5: Care and maintenance
Although hybrid flooring is extremely durable and hard-wearing, they still require care in order to keep them looking great.
Regular vacuuming, sweeping, and mopping is generally enough to get rid of any grime or dirt that can build up on your floor. Even though hybrid floors are 100% waterproof, it’s good practice to clean up any spills or accidents as soon as they occur to avoid staining.
Hybrid flooring should be shielded from direct sunlight to prevent fading and extreme temperature changes. You can do this by adding curtains or blinds to the windows of the room.
Most models of hybrid flooring come with long warranties that can extend for over 20 years, so you can have peace of mind knowing that any manufacturing defects will be covered by the manufacturer in the years to come.