


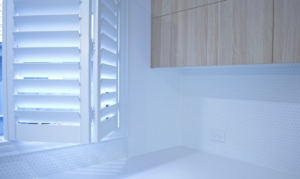
15 Sep How To DIY Install Plantation Shutters
As enticing as plantation shutters are for replacing standard window blinds and curtains, they do have one drawback: they are more expensive. Though affordable budgeting options and PVC materials exist for plantation shutters, there is no denying that their installation labour costs and custom fits make them pricier than your regular curtain set. This is why more people are opting to install plantation shutters on their own.
For anyone who is interested in learning how to make and install their own plantation shutter panels and plantation blinds, here’s our official FloorVenue guide on how to make the best DIY plantation shutters.
How Much Cheaper To Install Your Own Plantation Shutters?
Though prices can vary depending on what kind of material you use and how many tools you’ll need to purchase for the project, DIY plantation shutters are definitely less expensive than having them professionally installed. This is generally the case for many DIY projects, not just plantation shutters.
If you install your own plantation shutters, you can save around 25% of the original cost just by fitting them yourself. For smaller jobs with minimum callout fees, it would make even more sense to install yourself!
When using professional installation services, you can end up paying for multiple different factors, including the consultation time, the labour of the installation and the resources used. When dealing with all of these things yourself in a DIY project, you only need to worry about paying for the resources and tools yourself. You can let us measure up your place and have it picked up directly from our warehouse in less than two weeks!
What Kind of Material Should My DIY Plantation Shutters Be Made From?
With plantation shutters, regardless of the frame type, you’re probably better off using PVC because these are much easier to install than aluminium or wood. Furthermore, if cost-cutting is your main goal, PVC plantation shutters are more affordable to manufacture. Though you are welcome to buy any kind of material you want for your DIY shutters, plywood or a composite using faux wood is recommended keeping the price down is a priority.
Aluminium plantation shutters are heavier and much more difficult to install, so we would advise against these if you plan on fitting them yourself. Overall, PVC plantation shutters is our recommendation at FloorVenue.
Is it Better To Install Your Own Shutters or Use a Professional Service?
The most important question you need to ask yourself before you even begin your DIY plantation shutter installation is if you have the time and patience for the job in the first place. If you’ve ever installed doors or fences, you will have a headstart already.
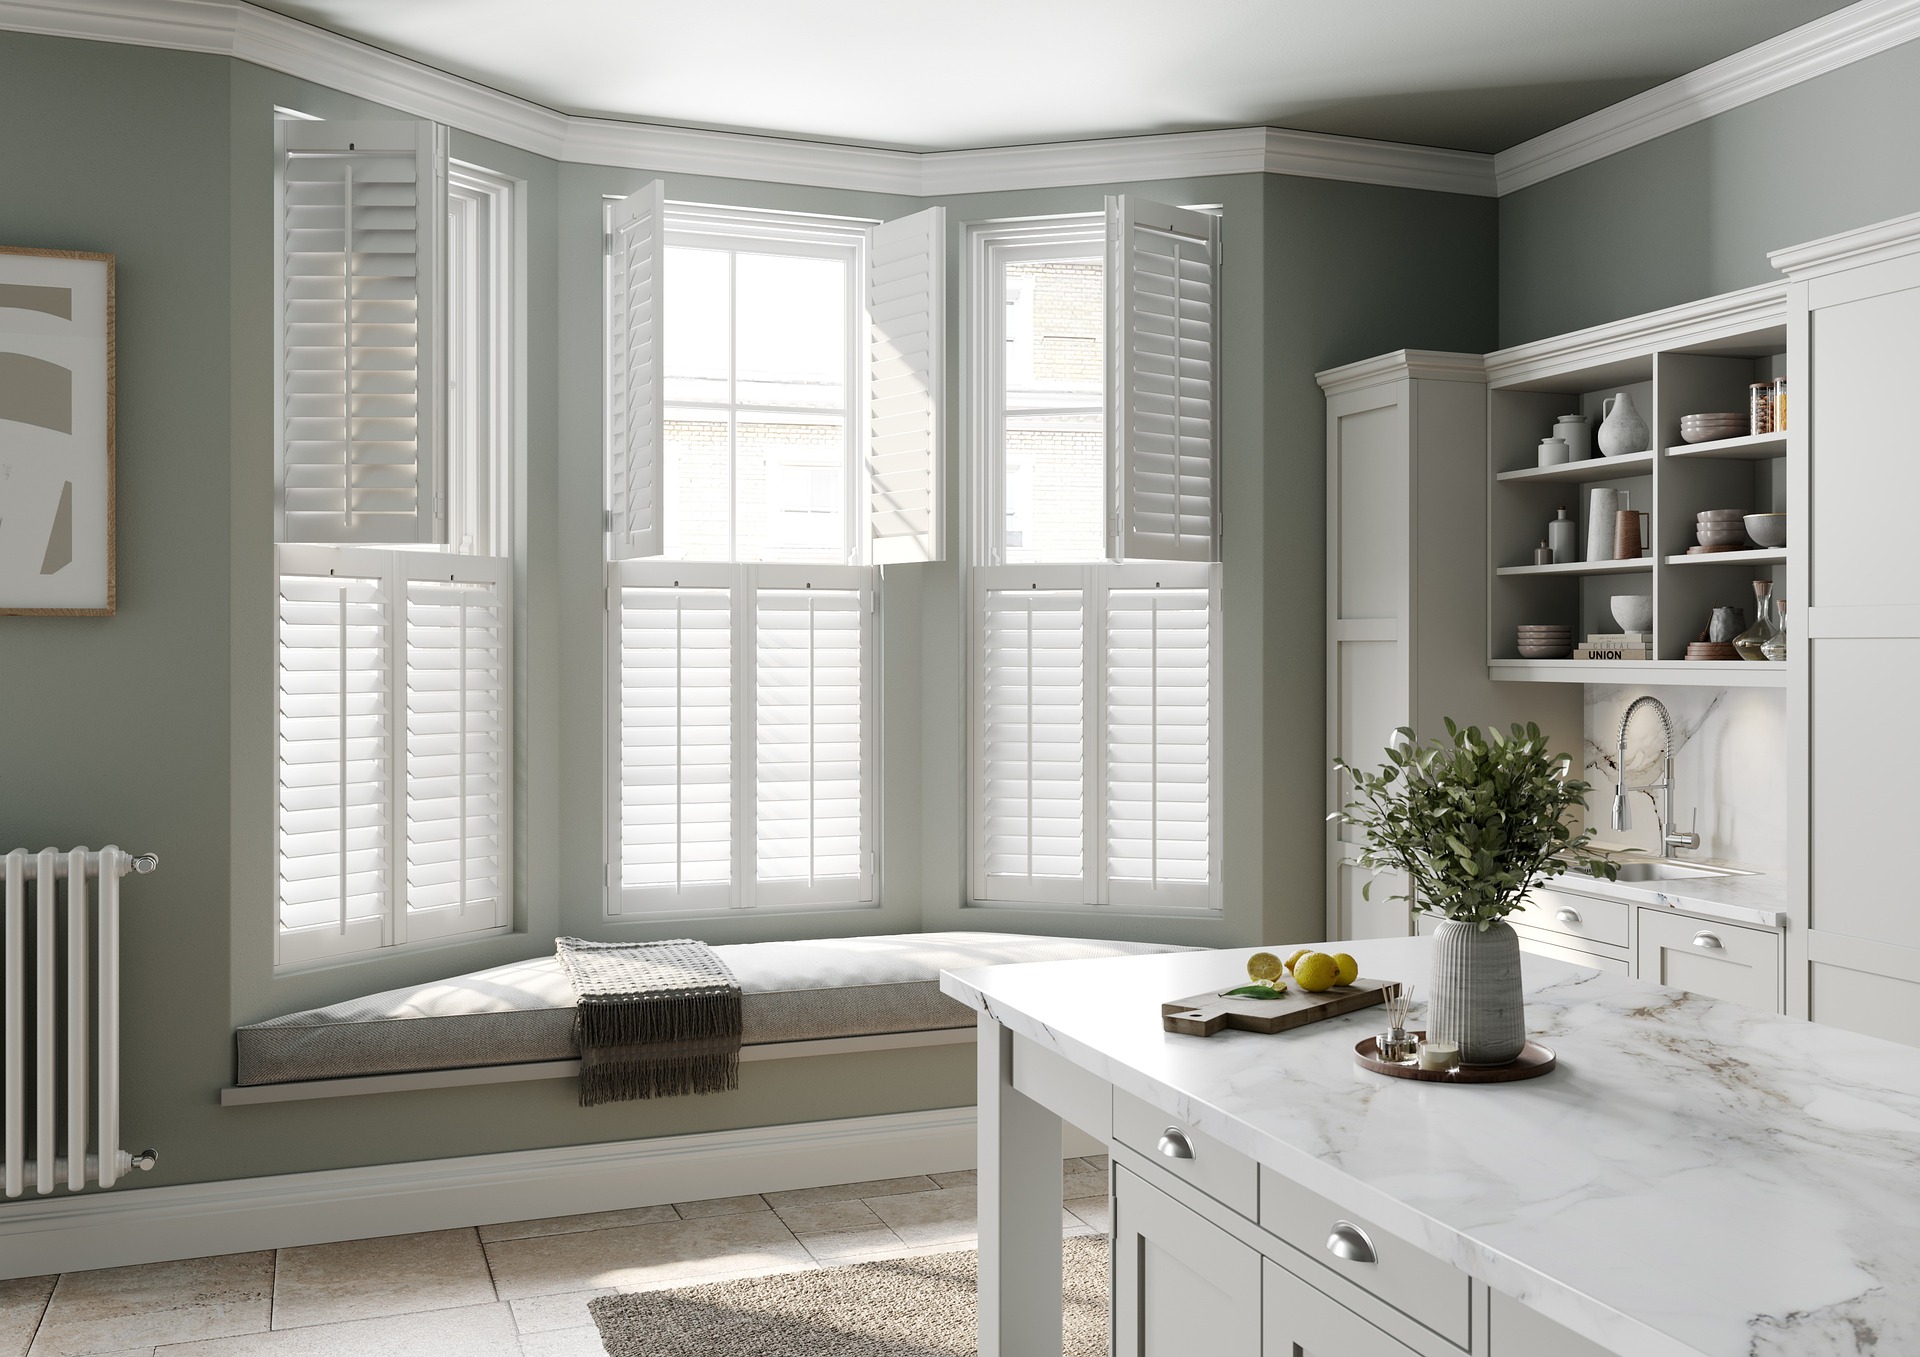
This biggest question is whether you have straightforward windows or not. If your windows are not entirely rectangular and come in all sorts of shapes and sizes, you are probably better off letting a professional from FloorVenue do it once and do it right. Whilst it sounds great to save money, most people opt for a professional plantation shutter installation to save time and headaches because it can get confusing, even with bifold plantation shutters.
The good news is if you order your shutters through us for a DIY project but you don’t have time or it gets too difficult, you can always call us in to have them fitted for you. For bay windows, double pane windows, or any style, we can help.
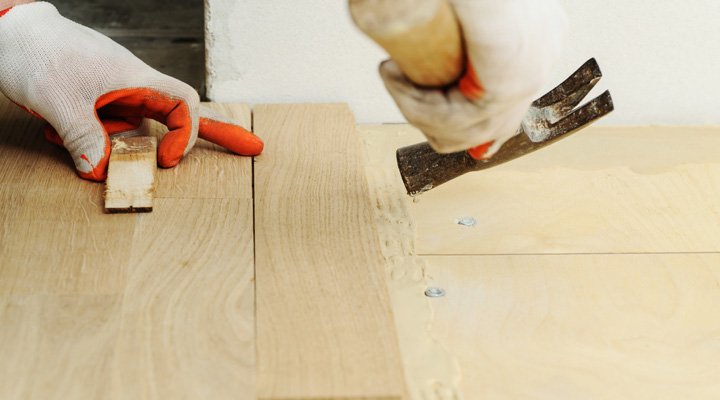
How To Install Your Own Plantation Shutters
When choosing a DIY plantation shutter kit, the process can actually be quite short and simple when everything is already available to you. A proper DIY plantation shutter kit like the ones at FloorVenue will come with all the necessary tools you need to assemble the pre-built shutters and install them on your window of choice. It should only take you about 30 minutes to install each DIY shutter per window frame.
1) Purchase a Kit that Has All the Right Tools and Supplies
A proper DIY plantation shutter kit should come with everything you need to assemble the frame, attach the blinds and then mount it on your windows of choice. These tools include, but are not limited to:
- Rails
- Dowels
- Blades
- Screws
- Tilt Rods
- Screw Caps
- Allen Key
- Washers
2) Own the Right Tools Ahead of Time
Though you won’t need router bits or a saw when using a DIY installation kit, you still need to own a couple of your own tools to get the job done. A power drill, drill bits and a measuring tape should be all you need to get started.
3) Assemble the Plantation Shutter Frame
Now that you’re ready to get to installing, the first thing you need is to assemble the frame of the plantation shutters. Most DIY kits will allow you to attach the corners of the frames easily using a lock and key design.
4) Screw in the T Post
With the frame complete, next comes the T Post. Screw it into the frame using your power drill. Feel free to have everything laying on the floor or carpet at this stage so all the pieces are secure and still.
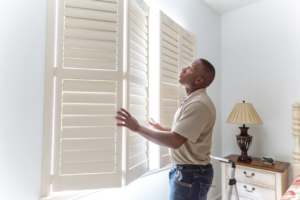
5) Begin Attaching the Plantation Frame to Your Window
Though it may be tempting to begin attaching the shutter blinds at this stage, it will actually be easier to do that once the frame is already installed onto your window frame. Not only is the frame lightweight and less clunky at this stage, but it will give you more space later on for attaching each individual shutter blind.
Most DIY shutters will come with Allen keys for this stage, though some will require screws. Whatever the case may be, grab the appropriate tool and begin screwing it to your window.
6) Attach the Shutter Blinds or Shutter Panels
With the frame fixed in place, you can now begin attaching each individual shutter blind or shutter panel, depending on the nature of the DIY kit you have.
If you’re attaching several panels to a longer window frame, it will be easier to go in one direction. Starting in the center can make things awkward, so make sure to install them either left to right or right to left.
7) Screw in the Hinge Locks
For many people, this will be the final step of the DIY shutter process. Use your drill gun to screw in the hinge locks on the appropriate places so that the shutter panels are secure to the frame and can swing open properly. Once this is complete, you can freely open and close your shutter blinds. Congratulations, you’ve finished installing your DIY plantation shutters!
Get in Touch with FloorVenue
If you have any remaining questions about the nature of DIY shutter installations or are ready to buy your very own DIY shutter kit, you can contact us at FloorVenue at anytime to set up a meeting or a consultation. Whether you need advice on how to find the right DIY kit or are still figuring out if DIY installation is right for you, we’ll help guide you through every concern and inquiry you’ll have. From PVC to aluminum shutters, we can assist you with any material. Just get in touch with us now!
