


06 Mar Understanding your Options with Un-level Subfloors [Updated 2025]
What is an Uneven or Unlevel Subfloor?
In a perfect world, the subfloor (the floor on which you will be installing the floor) would be even and smooth. However, the reality is our subfloors are often slanted, bumpy or uneven. It may not look like the case, but often you might pull away your old carpet to discover the floor is uneven and bumpy.
So why is this a problem? You cannot install a hard floor over an uneven subfloor. Doing so could result in creaking noises and movements between the boards.
FloorVenue’s one-stop guide for those with an uneven subfloor will cover:
- Top 3 ways to level an uneven subfloor
- Common subfloor misconceptions & mistakes
- Best alternatives to subfloor levelling
- Conclusion – Let the experts at FloorVenue assist you!
Top 3 Ways to Level an Uneven Subfloor
Correcting uneven subfloors is a common practice in the floor installation process. Before you can even consider installing timber, laminate or other flooring, you need an even subfloor.
The approach you ultimately take depends on how uneven and unlevel your subfloors are.
Mildly uneven subfloors can be corrected quickly, but for long-term stability, you should always ensure compliance with Australian Standard AS 1884, which requires no more than 2–3mm variation over 2 metres. FloorVenue’s installers are trained to check and prepare your subfloor to meet these standards before laying your new floor.
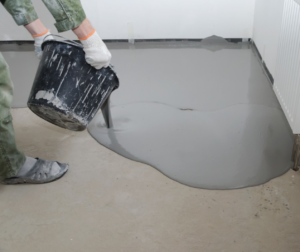
1) Self-Levelling Compound
One common option is using self-levelling compounds. This compound can be used on a concrete slab or a wood subfloor and can be effective with any dips on the floor. These self-levelling compounds are similar to concrete and typically come in large bags of powder. The powder should be mixed with water to create a thick paste, and you can spread it over the floor and it will automatically level out in the effective areas with gravity pulling it to lower points.
You will need to allow several days for the self-levelling compound to dry before laying new floors on top. The actual amount of time depends on two factors:
- Type of Flooring – Some flooring will offer water resistance or even full waterproofing. For wooden-based floorboards like engineered flooring or laminate flooring, we recommend at least 7 days to let the levelling compound cure. If you are laying a waterproof floor, you should give it 3 – 5 days.
- Weather – The climate and air humidity will impact the speed of levelling compound drying. On rainy days, we recommend giving an extra day or two.
Calculating the right amount of levelling compound is the difficult part because the product isn’t cheap, and running short means having to delay your flooring installation furthe,r as you’ll need to let the levelling compound dry and cure all over again.
Fortunately, FloorVenue can provide free on-site inspections to check your concrete slab or wooden subfloor. Our qualified inspectors will either use a two-metre standard spirit level or a laser to check the unevenness before providing a calculation and quote for levelling.
For subfloors with large dips, we tend to use self-levelling compounds to level the floor.
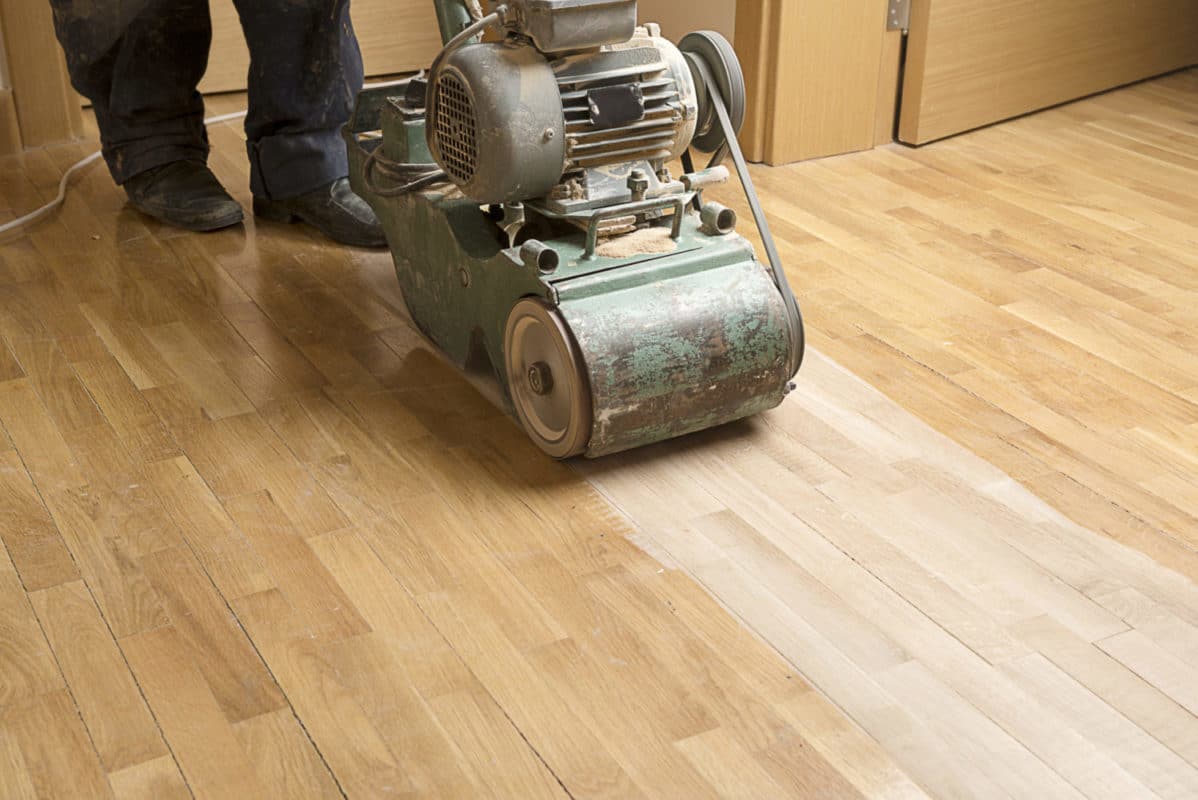
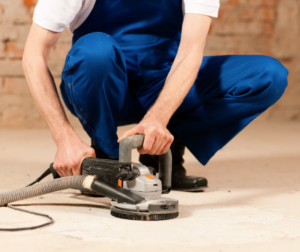
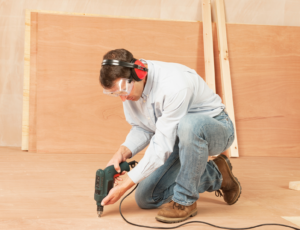
2) Subfloor Grinding & Sanding
The second option is to grind down any humps on the floor. You can use a floor grinder to level concrete floors, and you can use a floor sander to sand the surfaces of wooden subfloors. They utilise discs which rotate to finish off rough surfaces. Grinding and sanding are most suitable if you have a large hump in your concrete slab or wooden subfloor.
It is very common for our installers to recommend and quote for both grinding and levelling compounds, especially if you have both bumps and dips in different sections of the subfloor. A small amount of concrete grinding for one or a few high bumps can significantly reduce the amount of self-levelling compound required and save you subfloor levelling costs.
If you are in an apartment or unit, you will need to seek strata approval before undergoing subfloor grinding or sanding. This is because your strata will classify concrete slab modification as major works. FloorVenue can assist with seeking and attaining strata approval for any works necessary.
For subfloors with humps or bumps, we tend to use grinding or sanding methods to level the floor.
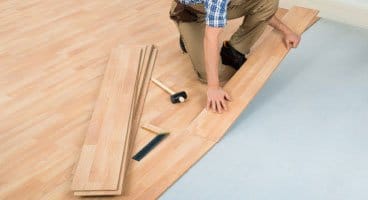
3) Plywood
A third option is installing plywood above the original subfloor to create a new smooth surface. Plywood is commonly used to raise the subfloor height in one section to meet higher sections so you won’t have a height difference when walking through different sections of the home. Another common use is laying plywood over a concrete stair slab to allow for proper glue adhesion when installing the stair covering.
We don’t recommend relying solely on plywood to level out an uneven subfloor because it will likely mold to the shape of the subfloor over time. If there are minor consistent undulations in the level of the floor, plywood can reduce the impact of the subfloor, but cannot completely eliminate the unevenness like a self-levelling compound.
To install the plywood, we nail it into the subfloor below for stability. If you are installing above concrete, you must use bolts that can enter the concrete surface. FloorVenue offers plywood that comes in varying thicknesses: 9mm, 12mm, 15mm and 18mm. The one we advise depends on the situation.
For mildly uneven and wavy subfloors, we tend to use plywood methods to level the floor.
Subfloor Levelling Misconceptions
Now that we have covered the three main ways of levelling out your uneven slab, let’s cover some misconceptions and misnomers of uneven subfloor so you won’t waste time, money and effort when levelling your floor.
Subfloor Levelling With Flooring Underlay
Some silly folks will recommend using a thicker underlay to level out a subfloor. Underlay is a foam or rubber layer that should be unrolled over the subfloor before installing any floating floor (laminate, hybrid, engineered, etc.). Whilst underlay is necessary for all floating floors, they were never designed to substitute self-levelling compound or concrete grinding.
This is because the underlay will simply follow the shape of the subfloor, which is not flat. Furthermore, laying more than one underlay will reduce the stability of the subfloor and cause more issues than they fix. Ultimately, levelling a subfloor with underlay will do nothing but cost you an extra few dollars.
There is only one exception to this rule. When laying floating floors over tiles, sometimes planks may have movement when they join directly on top of grout lines. Flat and even tile subfloors with large grout lines can be evened out by using a rubber underlay. Keywords: flat and even, which means there cannot be any bumps or dips across the tiles.
Previous Floor Was Perfect, Why Level Now?
Often, we replace existing floors with new ones. You’d expect the new floor to perform just as well as the old one, and hence you probably don’t need levelling, right?
That depends. Different types of floating floors have different subfloor tolerances. This is because every floor has a different thickness and material composition. For example, the average engineered floor and laminate floors have double the tolerance of a hybrid floor.
It is important to do an on-site subfloor check when changing your floors, especially if you plan to put a hybrid floor, since they are the most sensitive to subfloor imperfections.
What Are The Alternatives to Full Subfloor Levelling?
We understand that having to level an entire subfloor can be very stressful, costly and time-consuming, especially when it’s unexpected. If you have not budgeted the money or time to level everything, there are alternatives that you can consider.
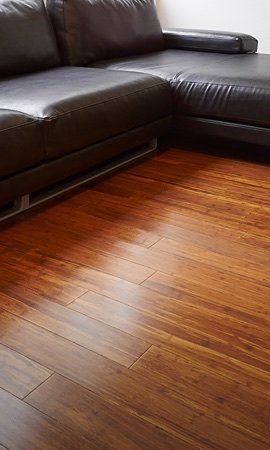
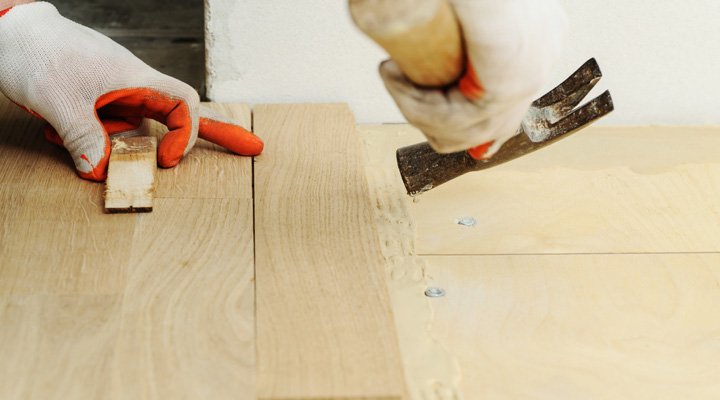
Glue Down Your Floorboards
While it’s generally not recommended to install flooring over an uneven subfloor, if you find yourself in a situation where addressing the subfloor issues is not feasible, there are some measures you can take to minimise the impact of the unevenness. One of these methods involves directly fixing each plank to the concrete or timber below with specialised polyurethane glue. This is also much more affordable than the proper subfloor levelling, which often costs thousands, and does not take several days to dry.
Sounds great? However, there is a catch (or two):
- This is not a proper solution and only works for minor bumps and dips in the subfloor. Furthermore, it will be much more difficult and costly to remove and replace the flooring once it’s been glued down.
- FloorVenue does not offer a workmanship warranty if the client chooses to glue down instead of doing subfloor levelling. Most manufacturers won’t give a product warranty either; however, this can vary case by case.
Subfloor levelling is always recommended over gluing down. FloorVenue’s technicians can check your subfloor and advise whether gluing down your floorboards is an option.
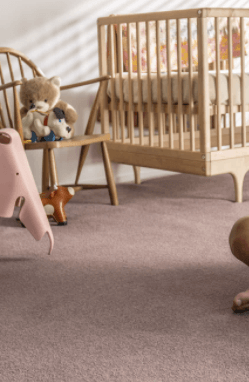
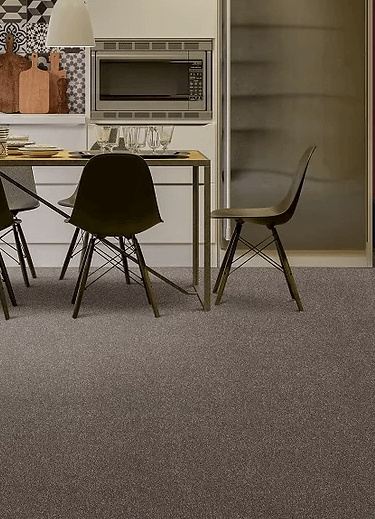
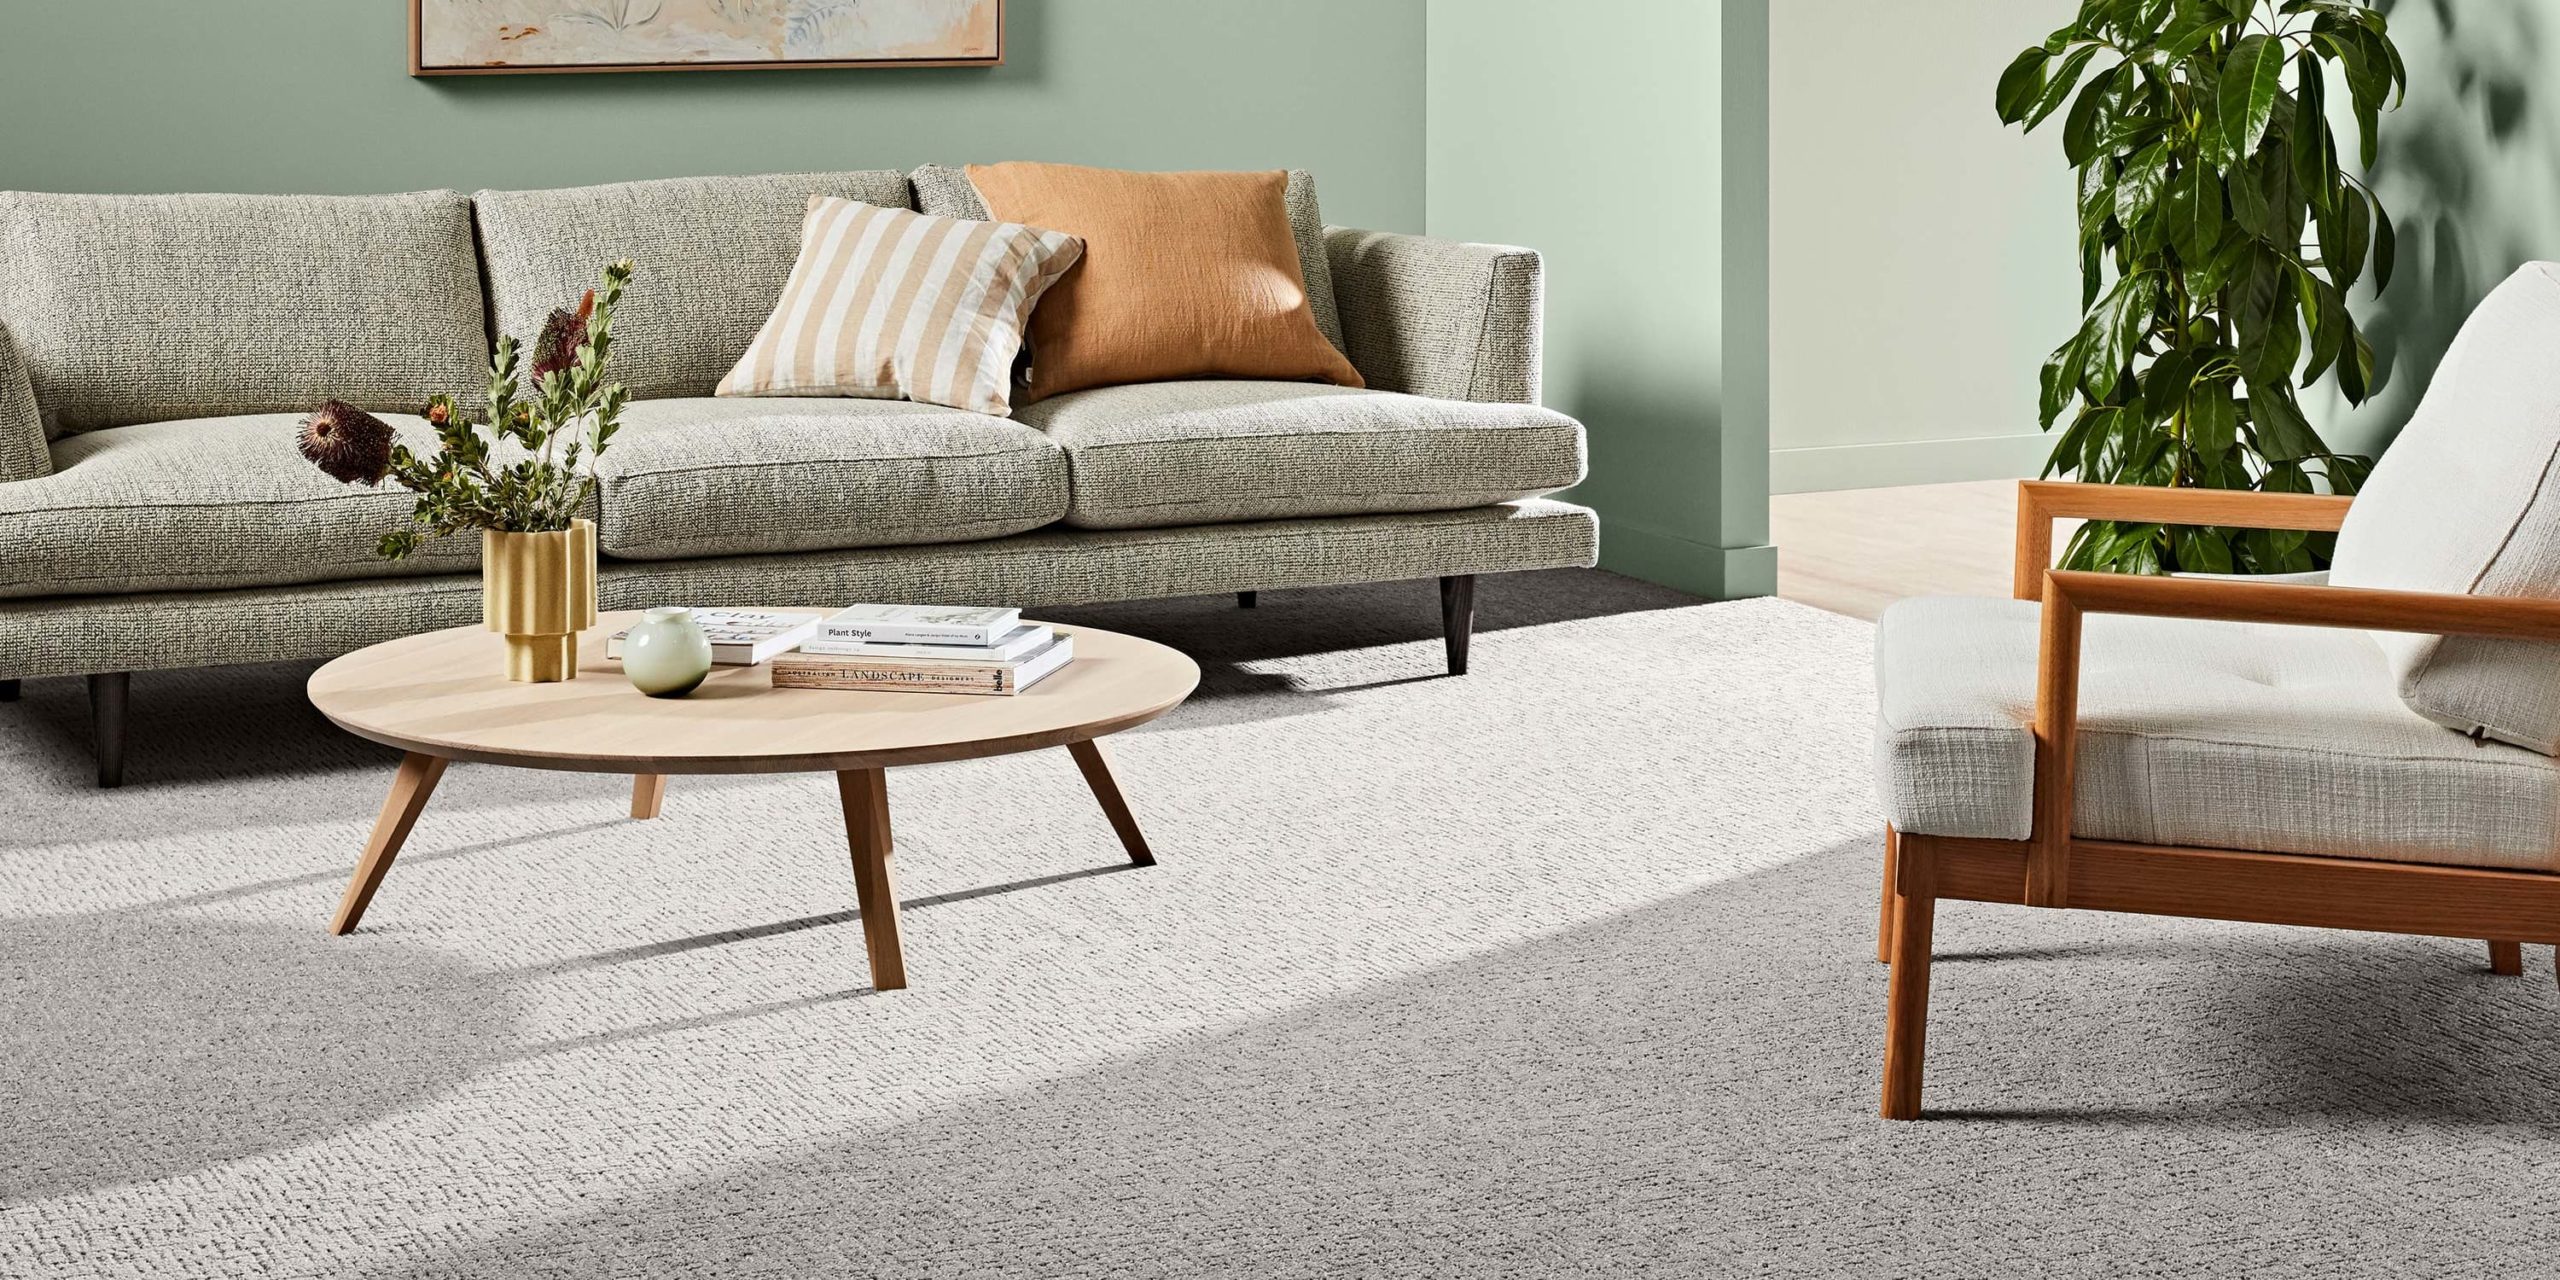
Choose Carpet Instead of Floating Flooring
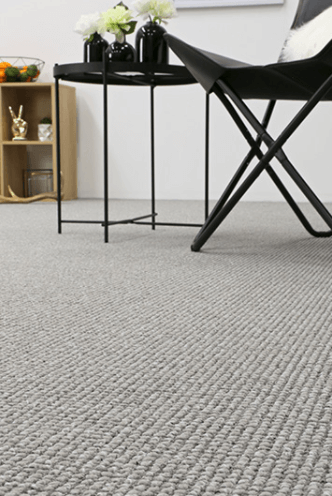
Broadloom carpets come on a big roll, either 3.66 metres or 4 metres wide, and can run over almost any “reasonably uneven” subfloor. Unlike hard floors, carpet is much more versatile and can stretch, bend and adjust to the shape of your subfloor quite easily. Consider choosing a thicker carpet and underlay to cover imperfections better.
Carpets also cost less than hard flooring on average, which makes them a great alternative when budgeting!
You can explore our full range of broadloom carpets that can go over almost any subfloor.
What do I do next?
If there are any subfloor levelling issues, it’s critical to address them before installation. According to AS 1884 for resilient floor coverings, your subfloor must be smooth, clean and level to ensure durability and warranty protection. FloorVenue provides free on-site inspections across Sydney to check compliance and recommend the best levelling solution.
Fill out the contact form at the bottom of the page and hear back from us within 24 hours!
